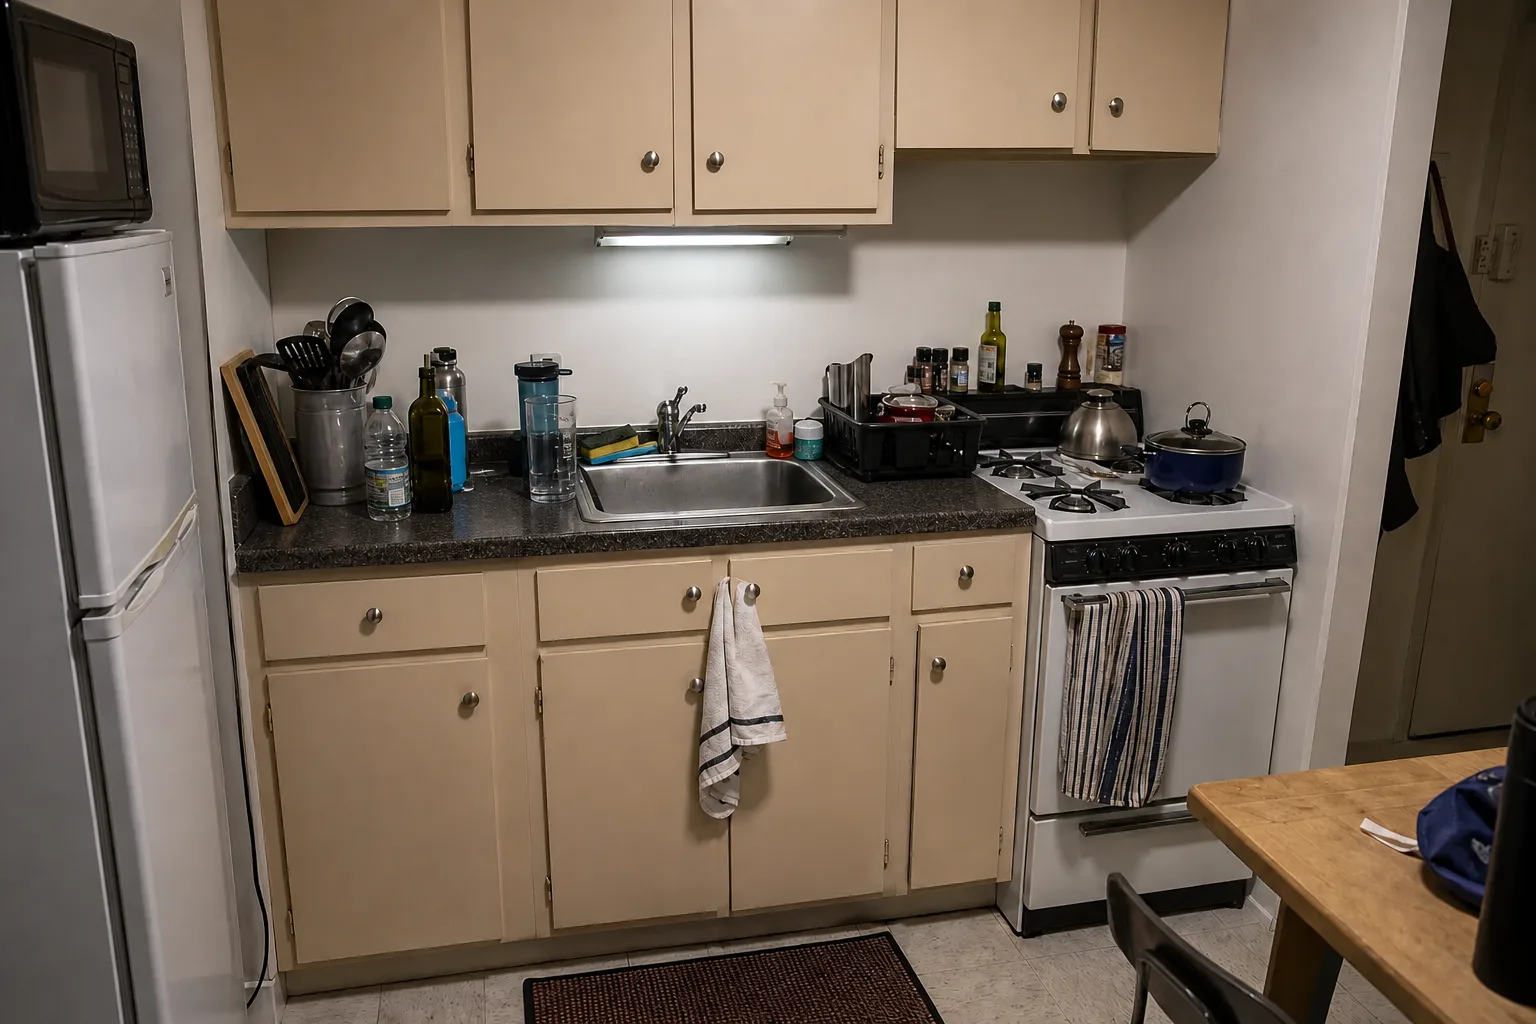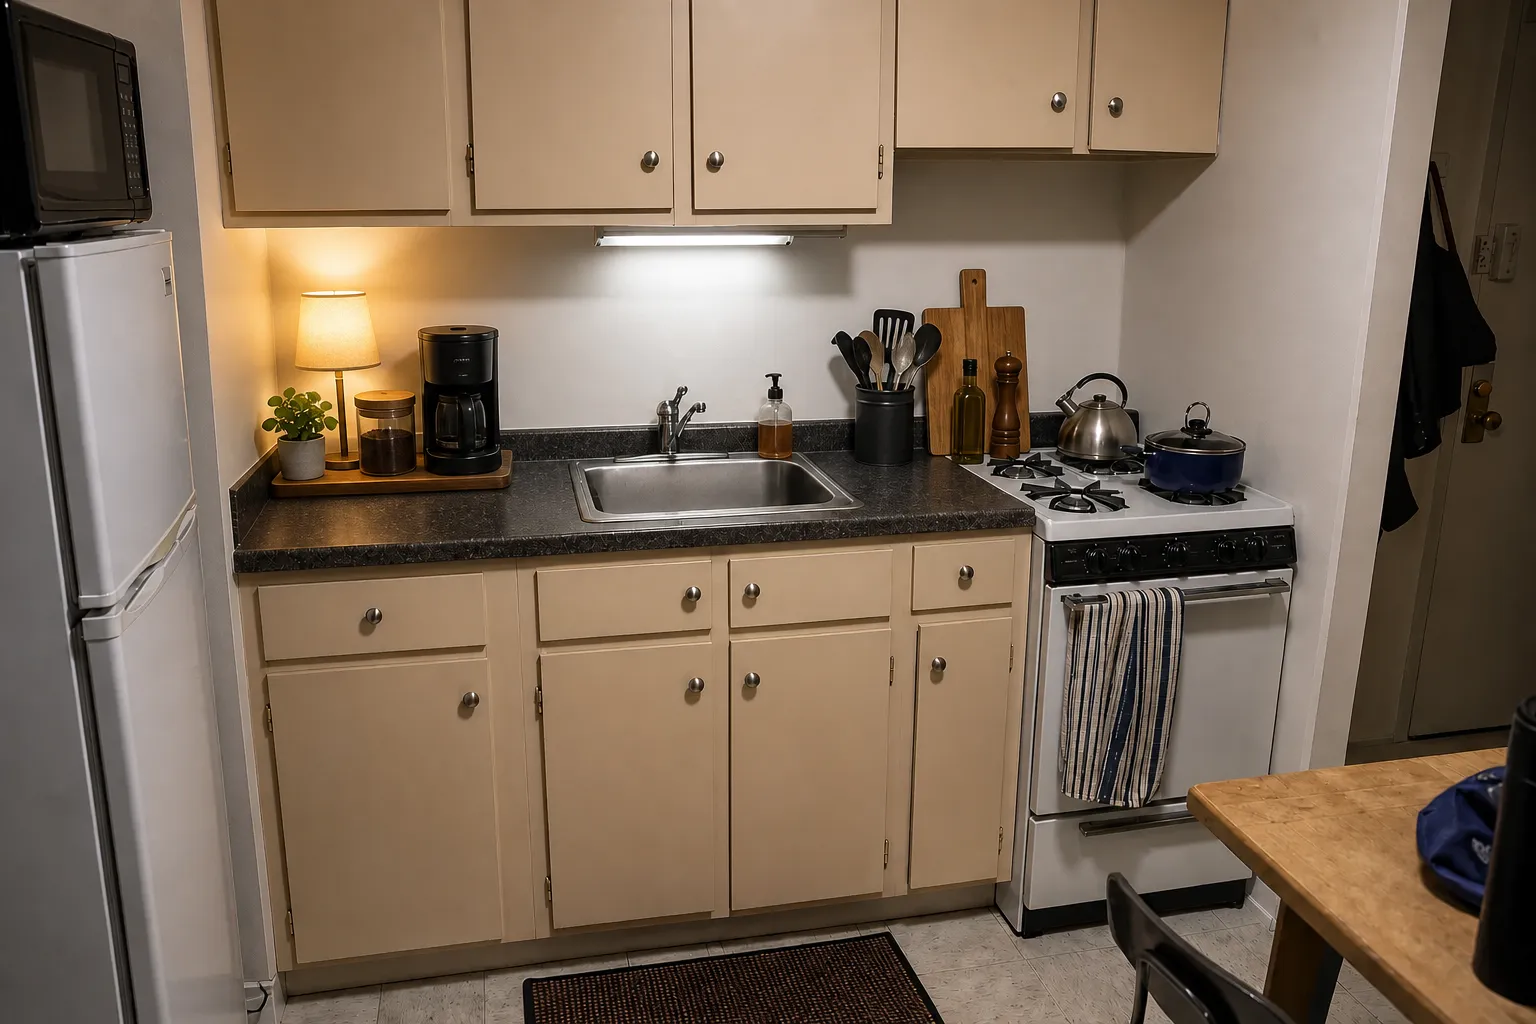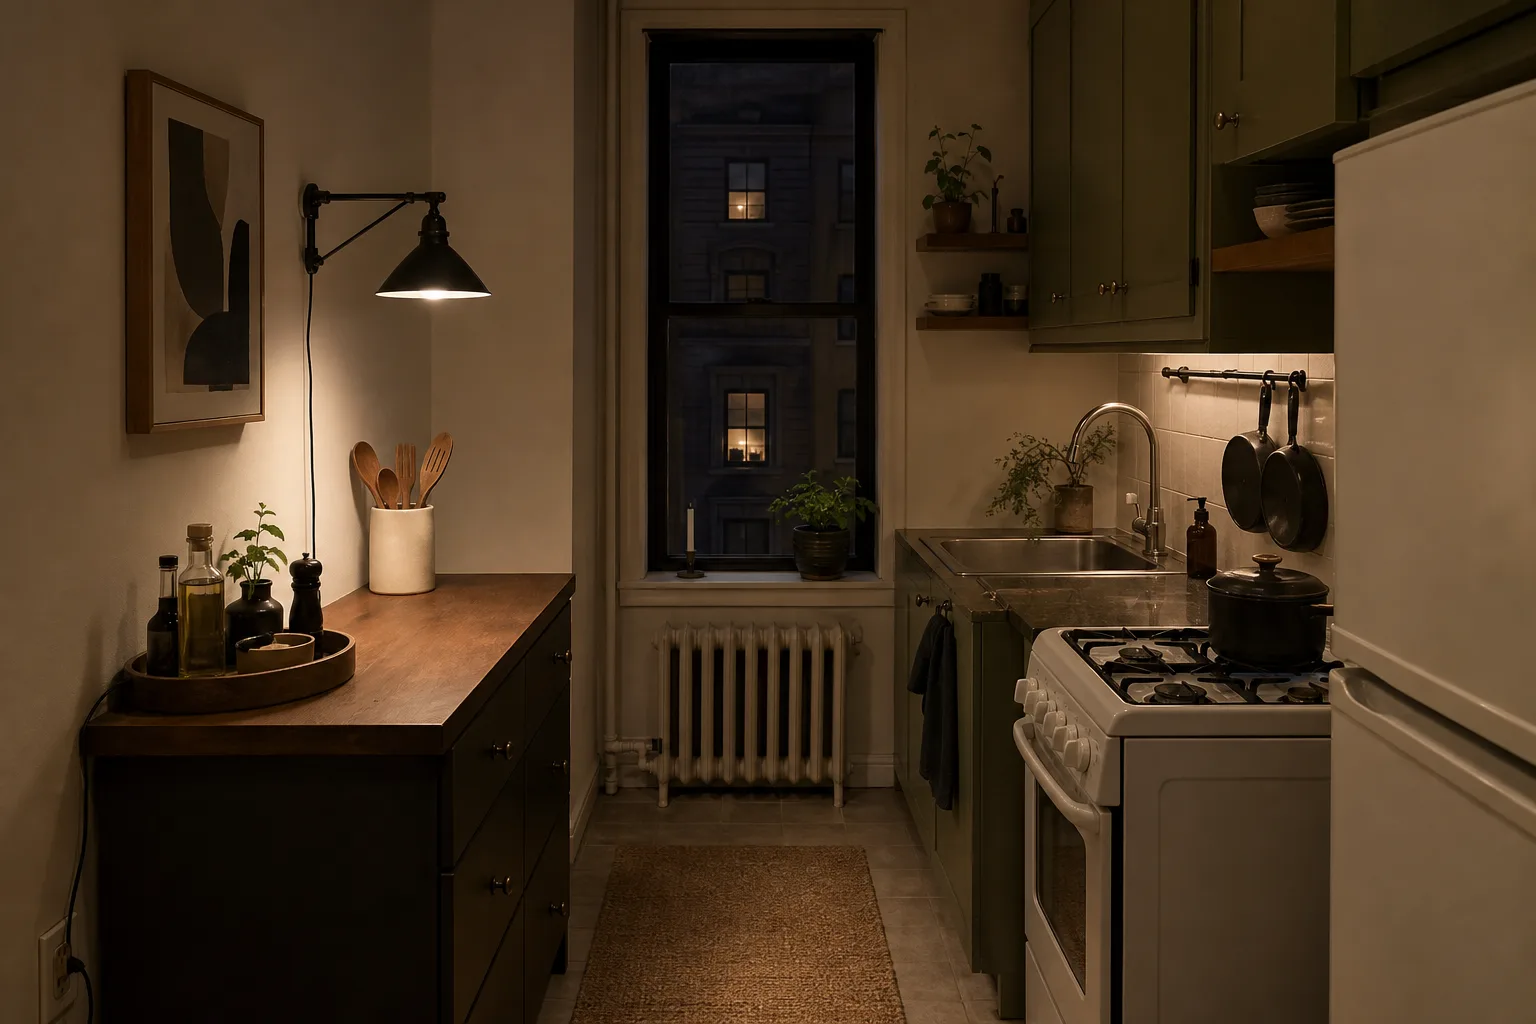
A small rental kitchen can feel visually noisy before you cook anything. Cabinet colors compete with appliances, packaging crowds the counter, and a bright ceiling fixture makes every mismatch equally visible. Because renovation is off the table, it is tempting to cover every surface. That creates maintenance problems near water and heat while making an already tight room busier.
Start with function: keep the sink, cooktop, food-prep area, vents, outlets, and cabinet openings clear. Then choose two repeating materials and one restrained color. The strongest renter refresh makes necessities easier to use and reduces the number of unrelated things you see. Nothing decorative should compromise cleaning, food safety, ventilation, or access to shutoffs and appliances.
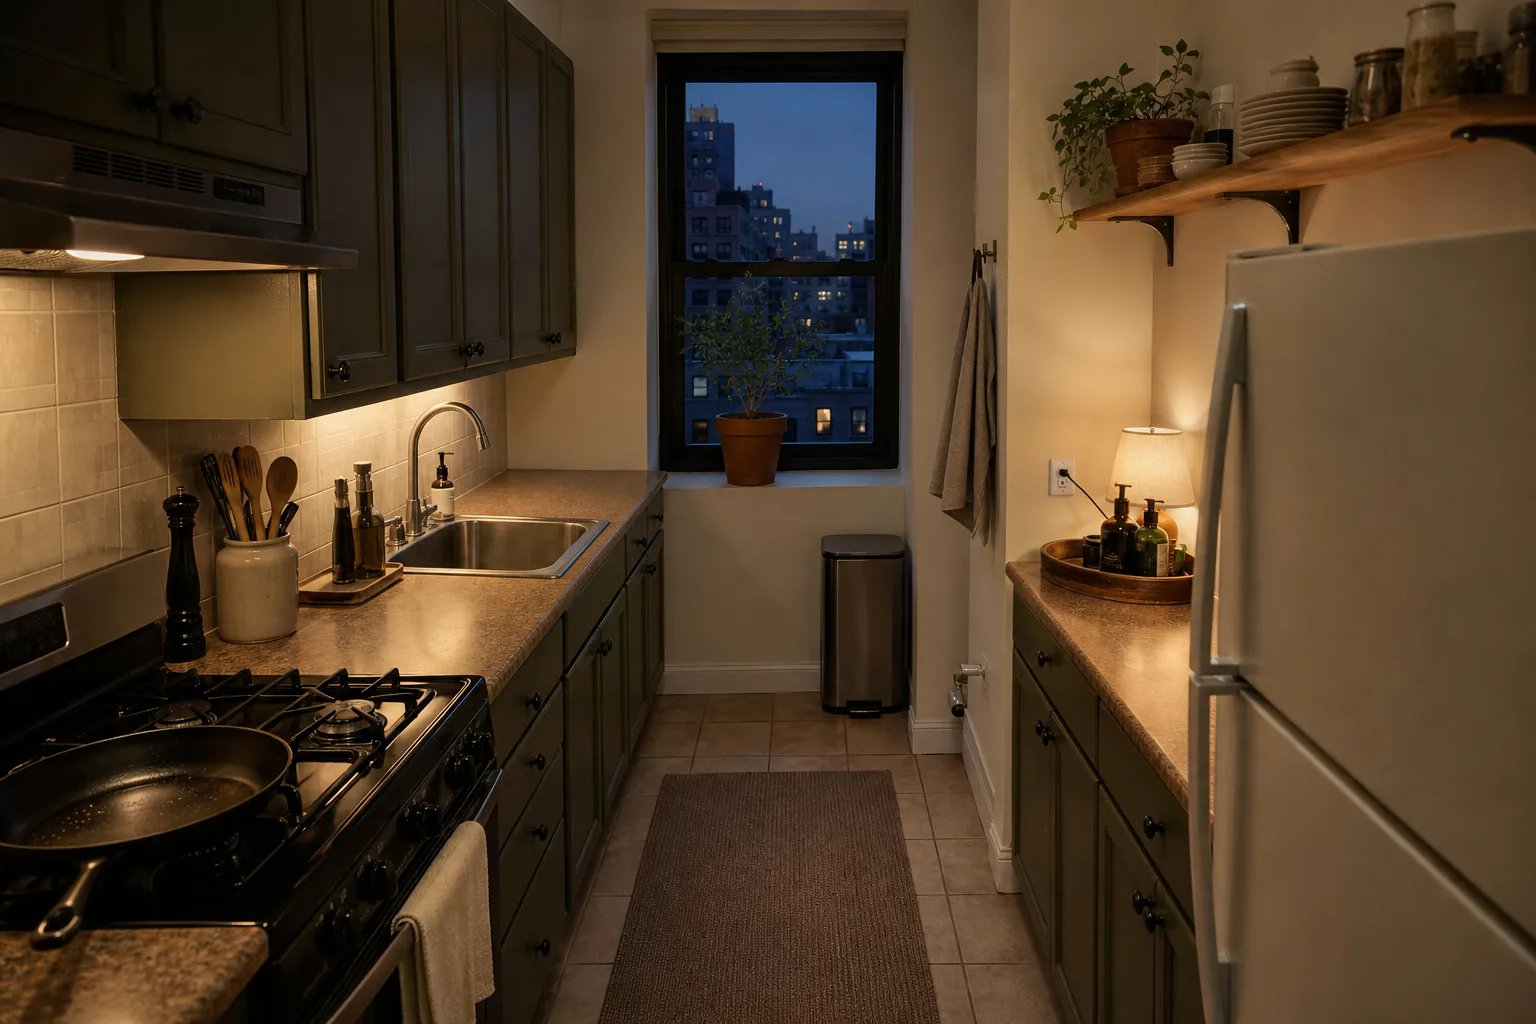
Make the counter read as zones
1. Put daily items on one washable tray
Group oil, salt, pepper, or coffee supplies by the task they serve. A shallow tray around $12–$40 creates one visual boundary and makes the counter easier to wipe. Choose a nonporous, washable surface with felt or silicone feet. Keep it away from direct burner heat and do not let bottles crowd an outlet. If you use only one item from the group daily, store the rest rather than styling them.
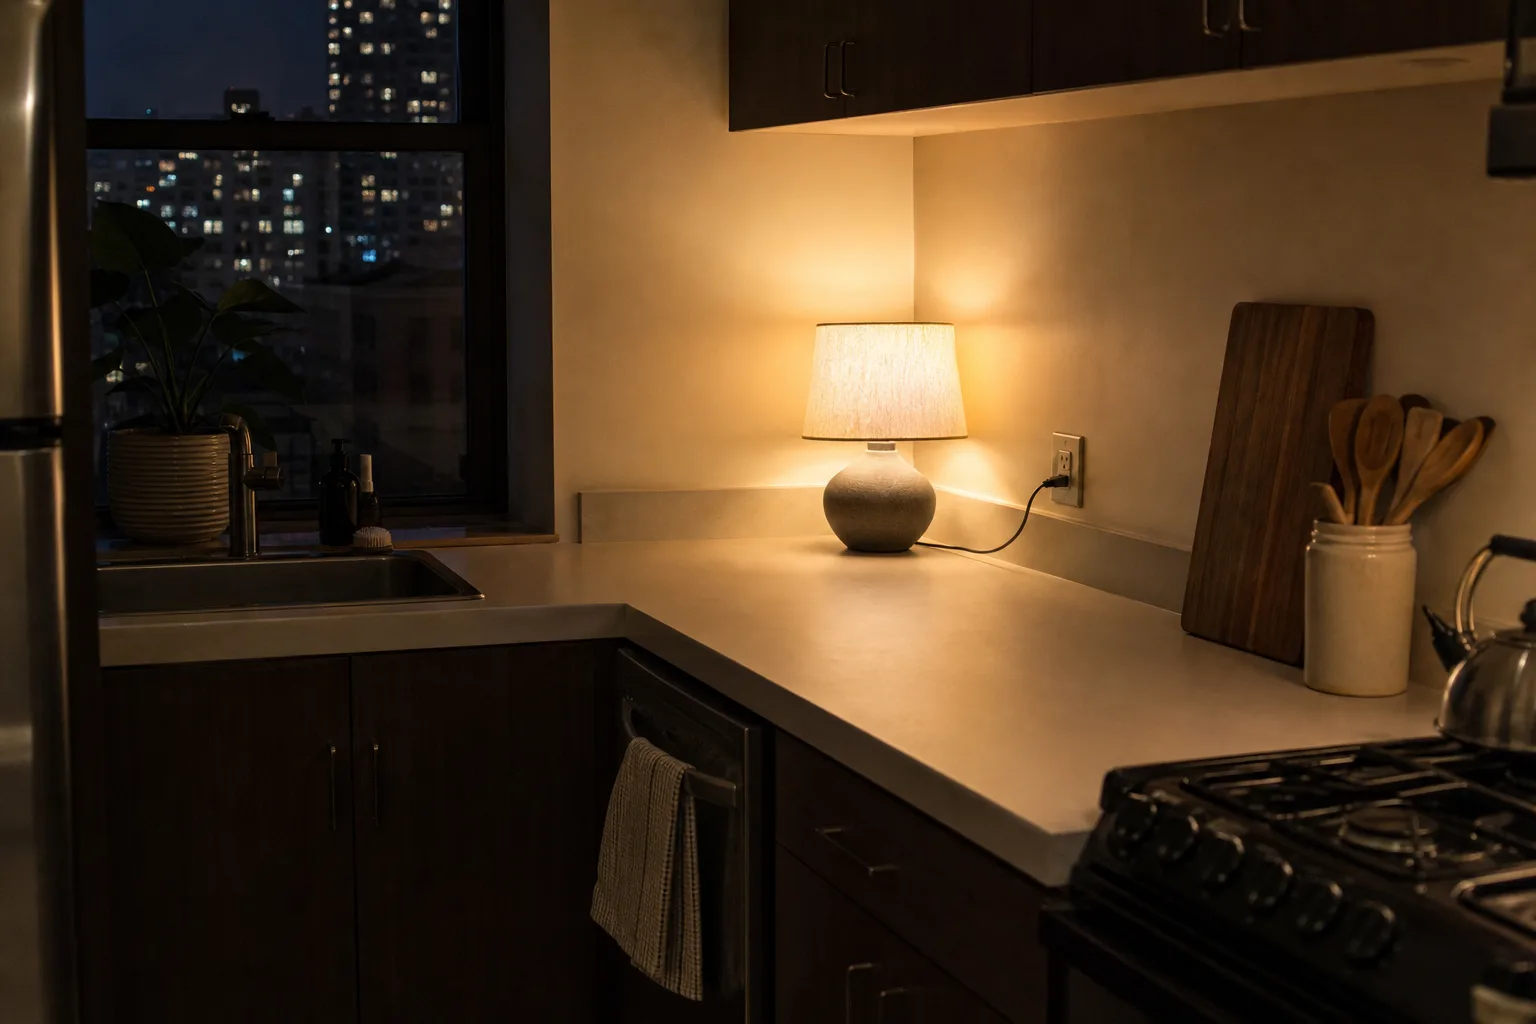
2. Add a small counter lamp in a dry zone
A compact shaded lamp makes the kitchen useful after dinner without the ceiling glare. Place it on a dry counter well away from the sink, cooktop, steam, splatter, and cutting area. Its cord must reach an outlet along the wall, never across a counter edge or walkway. Expect $20–$60 plus a warm LED bulb. Follow the fixture instructions; a table lamp is ambient light, not a substitute for safe food-prep illumination.
3. Choose one crock for the tools you actually use
A heavy ceramic crock can replace a drawer jammed with long utensils, but it should hold a short working set rather than every tool you own. Check that handles cannot lean toward a hot burner and that the base will not tip when one utensil is pulled. A $15–$35 matte crock repeats the visual weight of a lamp or tray and keeps the active zone readable.
Soften the room without making it harder to clean
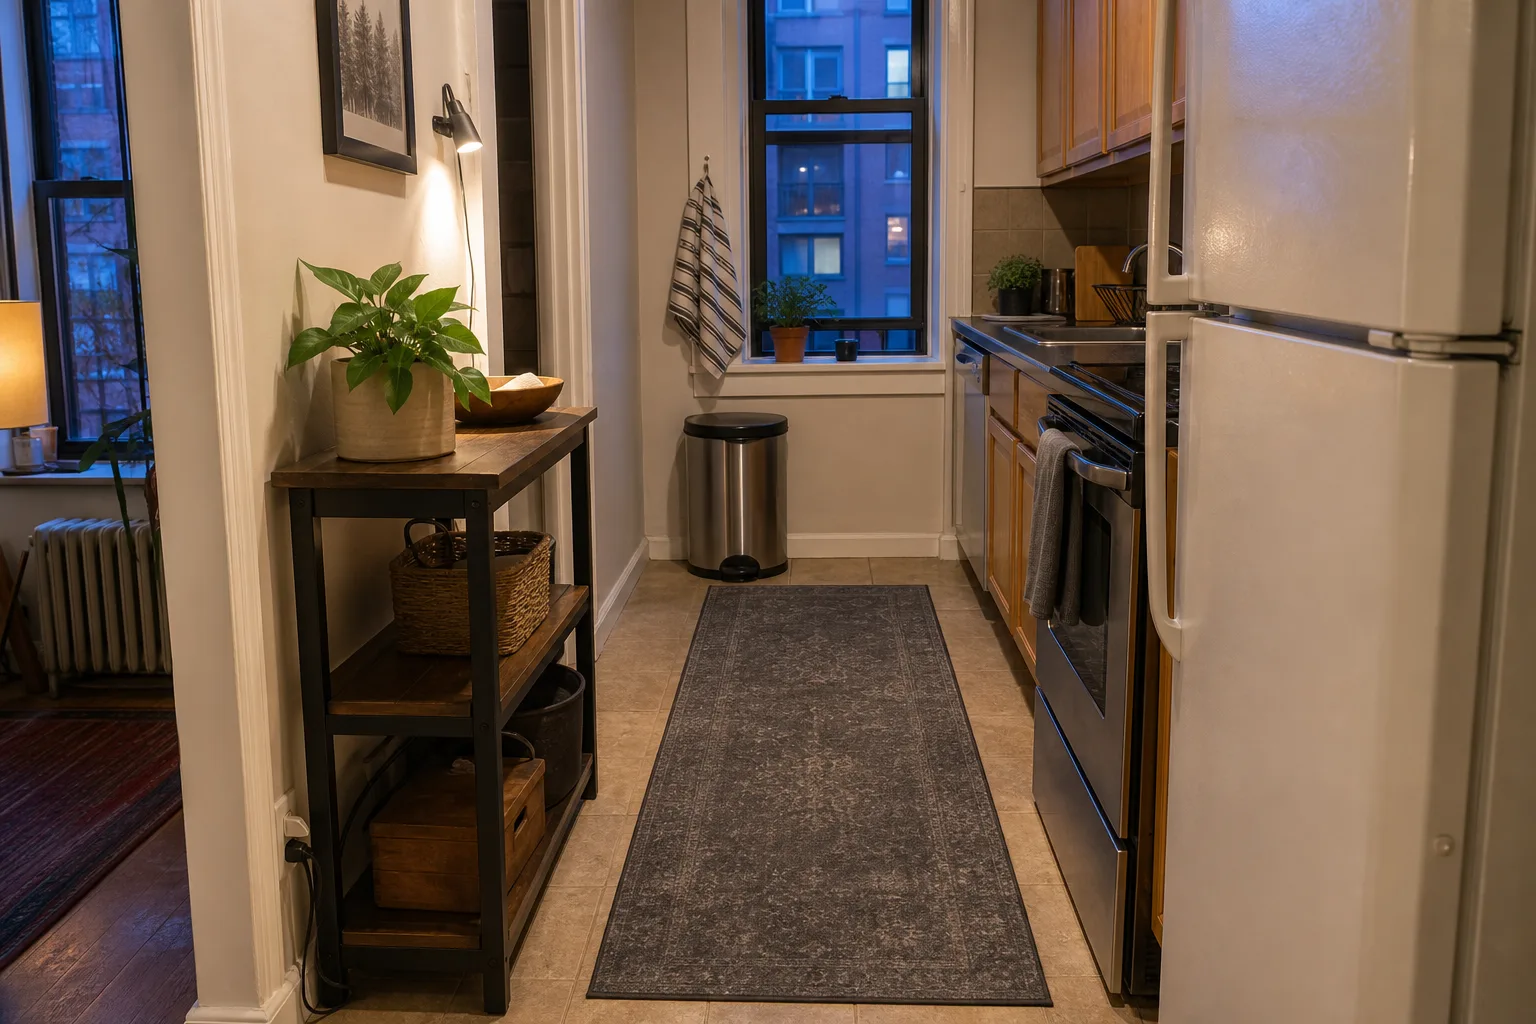
4. Lay down a washable low-profile runner
A runner can connect mismatched lower cabinets and soften a hard floor. Measure door swings, toe kicks, and the working aisle, then choose a size that lies flat without entering the stove’s hot zone. Dark small-scale patterns disguise ordinary marks better than solid cream. Budget $25–$80, use the manufacturer-approved nonslip layer, and avoid thick edges that catch feet or block drawers.
5. Repeat one towel color and retire the extras
Two or three absorbent towels in one deep neutral can quiet a kitchen full of competing packaging. Keep a clean hand towel separate from towels used for dishes and spills, and wash them frequently. A rail or existing handle should never interfere with an oven seal, vent, control, or hot surface. This is a $10–$30 change, but the real improvement comes from removing stained or purely decorative towels.
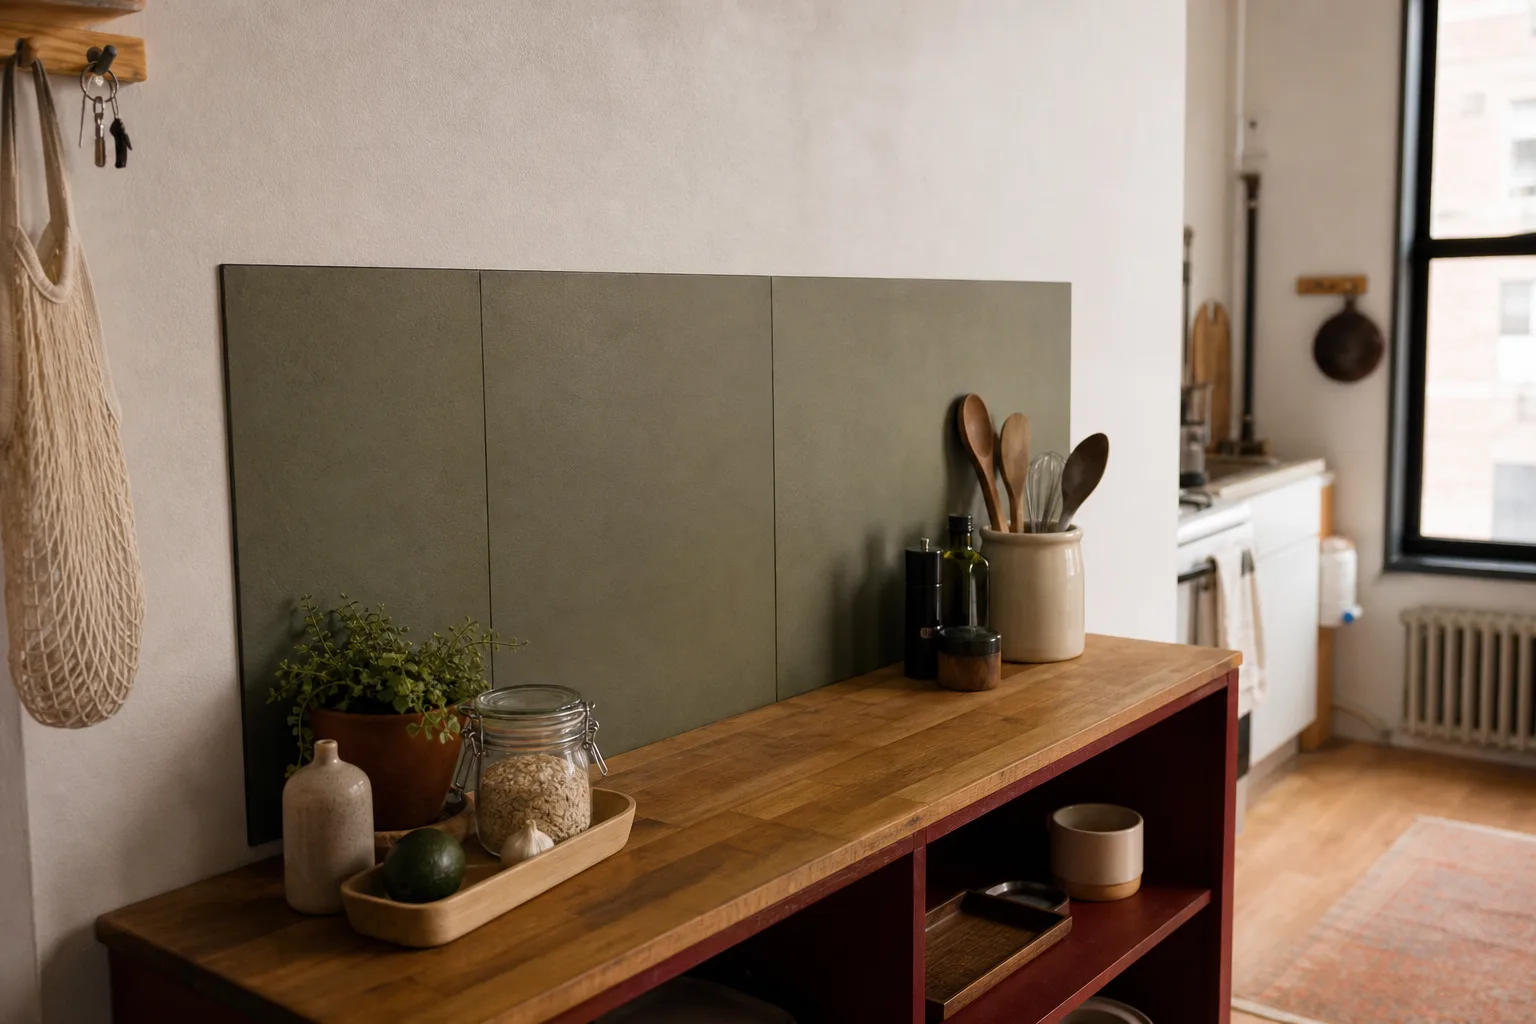
6. Use a removable backsplash only on a safe, testable wall
Dimensional peel-and-stick panels can unify a short dry run, but they are not right for every kitchen. Avoid direct exposure to gas flames, high heat, heavy steam, grease, uneven tile, crumbling paint, or manufacturer-prohibited clearances. Buy samples first, test removal in a hidden spot, and confirm that the product is intended for the exact surface and location. A small area may cost $40–$150, so precise measuring and a clean stopping edge matter.
Use vertical space carefully
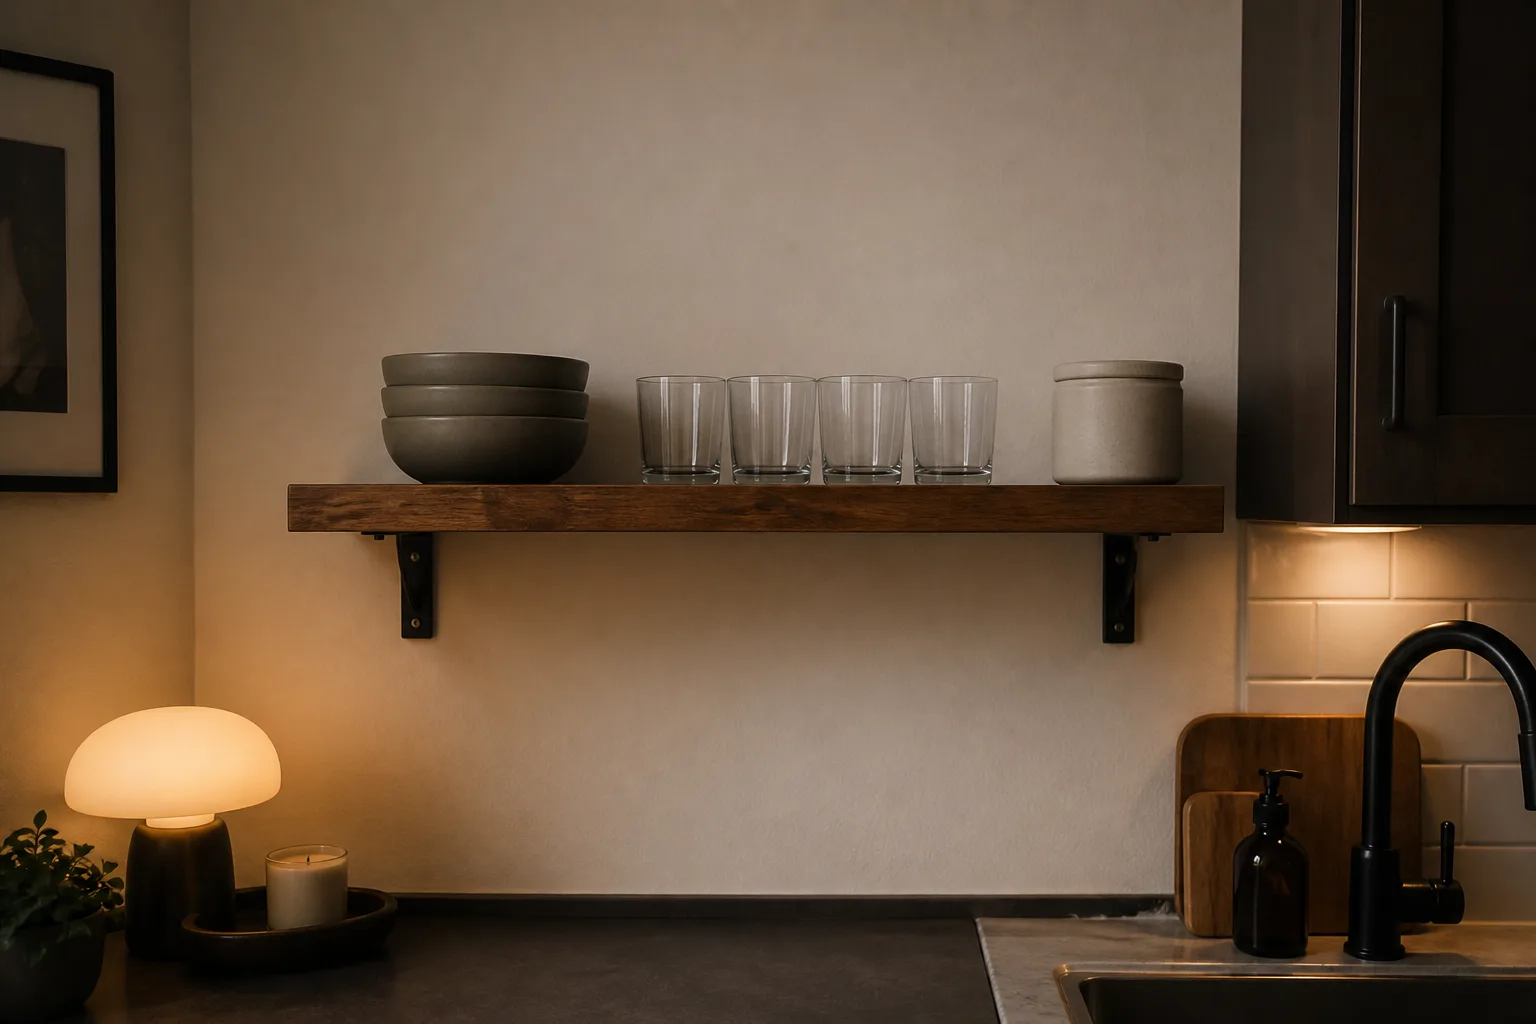
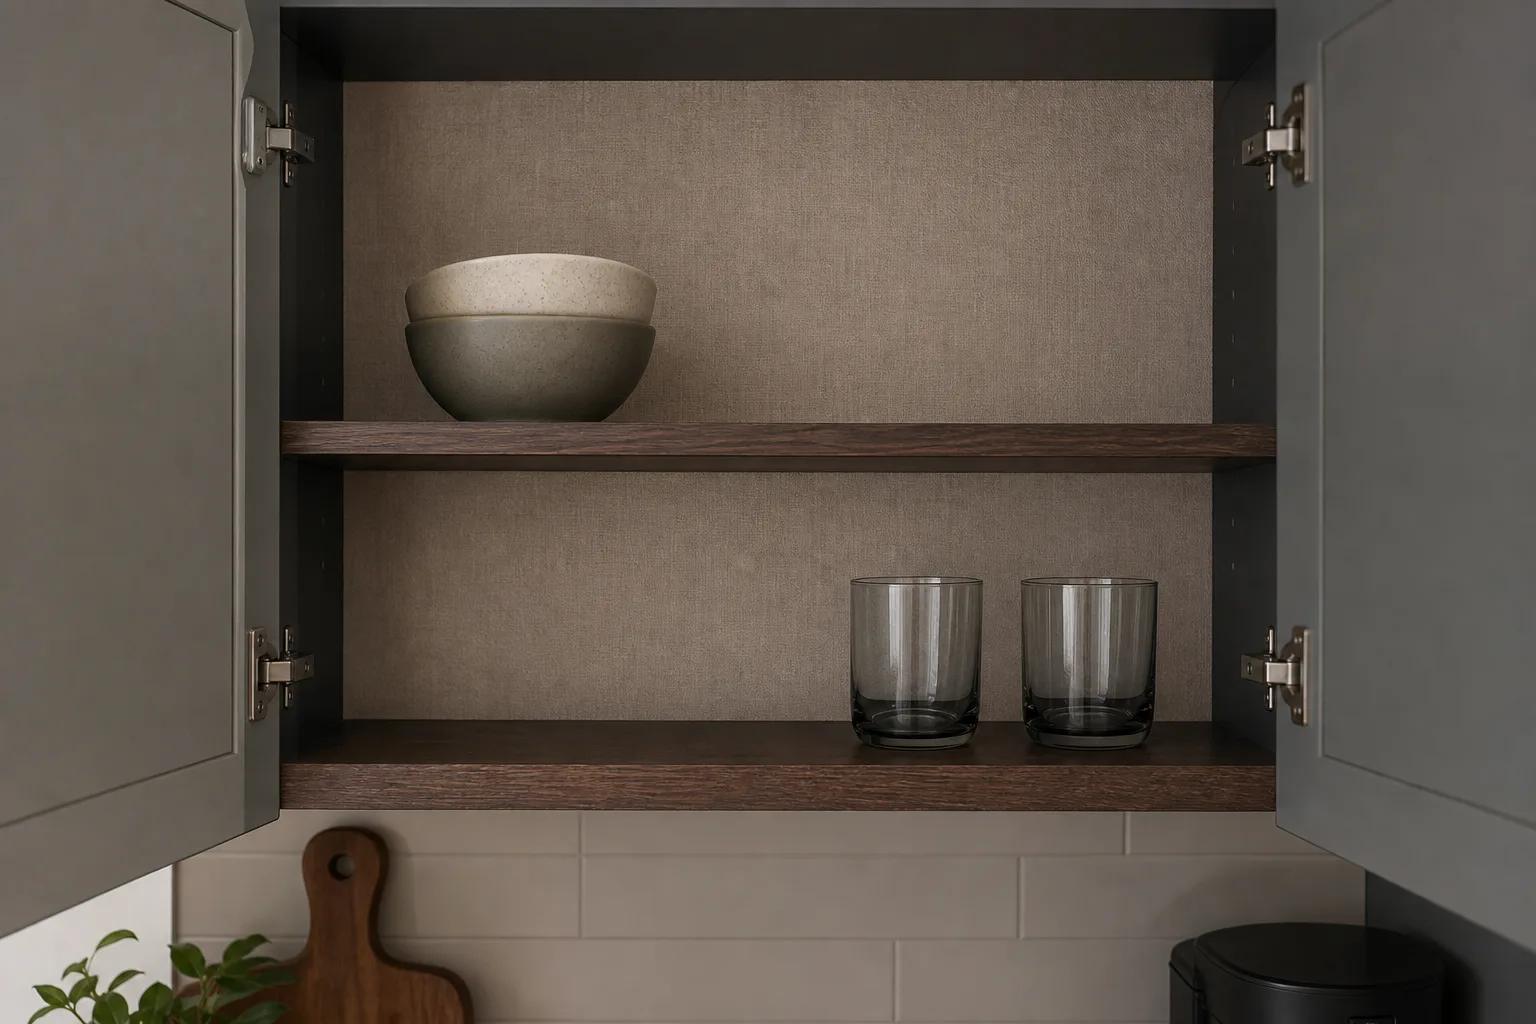
7. Edit an open shelf to working capacity
An open shelf looks calmer when it contains objects that belong together and are used often. Try one stack of bowls, one row of glasses, and one closed container, leaving visible space between groups. Put heavy items low and keep fragile pieces away from an exposed edge. Do not add a shelf where drilling is forbidden or where the wall construction is unknown; style an existing shelf or freestanding rack instead.
8. Add a freestanding rail or magnetic solution only where suitable
A countertop rail, freestanding paper-towel holder, or manufacturer-approved magnetic rack can free one drawer without touching the wall. Confirm that a magnetic accessory does not block an appliance vent, door, heat path, label, or control. Avoid hanging knives where children can reach them or where a rack can shift. Expect $15–$60 and choose the smallest piece that handles a real daily tool set.
9. Line only the inside or back of a cabinet
Instead of wrapping every door, use removable paper on a visible shelf back or inside a glass-front cabinet. The smaller field is easier to align, clean, test, and remove. Choose a matte low-contrast pattern, keep it away from food-contact surfaces, and follow the material’s heat and moisture limits. Contact paper often costs $10–$35 a roll; old paint or porous wood may still be risky, so test first.
Give the eye one resting point
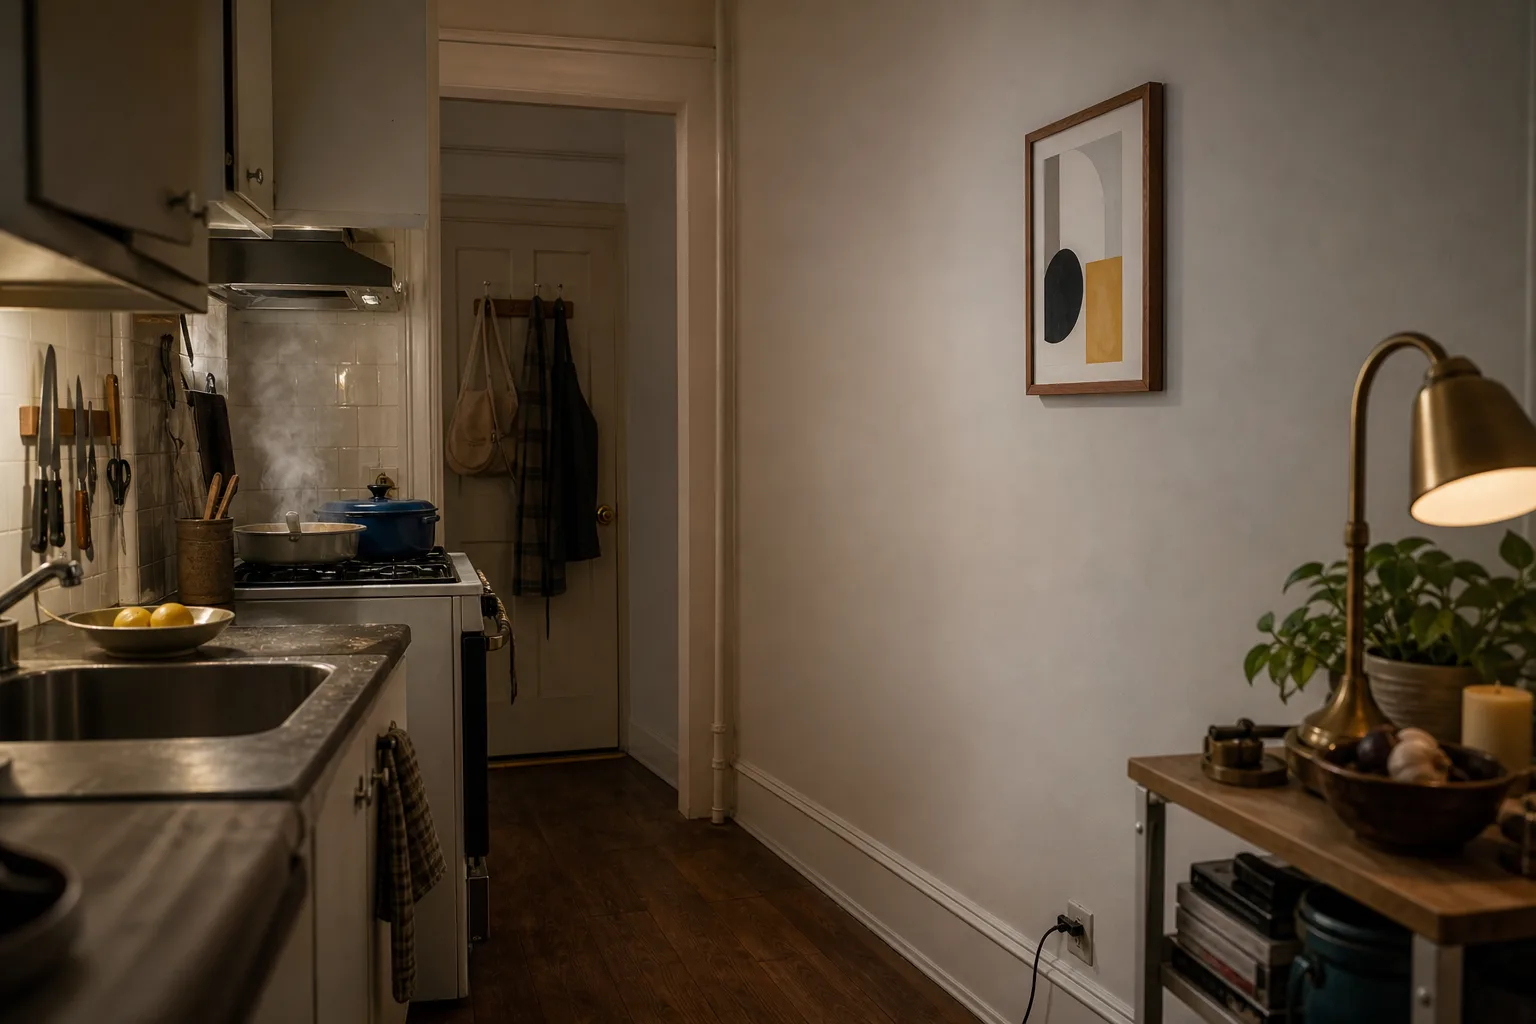
10. Add one quiet piece of art beyond the splash zone
A small framed abstract, textile, or unglazed ceramic piece can supply the kitchen’s accent color without asking cookware to be decor. Place it away from heat, spray, grease, and cabinet swings. Use lease-approved hardware matched to the complete weight, or set a small piece on a stable deep shelf. Spend $15–$60 and resist filling every empty strip of wall; one clear focal point is enough.
A weekend order that prevents rework
First clear the counters completely and return only what you use at least weekly. Second, establish safe prep, cooking, washing, and coffee or tea zones. Third, change the evening light. Fourth, add one textile. Only then decide whether a removable wall treatment is necessary. This order often reveals that the cabinets were not the main problem; the problem was glare, packaging, and objects without boundaries.
The finished-rental rule: preserve the kitchen’s safe working clearances, then repeat one color through light, textile, and one small object. Before using adhesive, read the peel-and-stick guide. For low-cost finishing pieces, see the under-$50 home finds. Browse more renter upgrades or all articles.