
A renter can build warm evening light without opening a wall. A sofa lamp and desk lamp may share the same wall area. The darker corner may still need a floor lamp, which raises a practical question about where every plug should go.
Start with placement and work back toward the wall outlets. This keeps the plan tied to the room instead of a strip's available sockets. Each lamp should serve a specific activity, and the connection plan should follow that location.
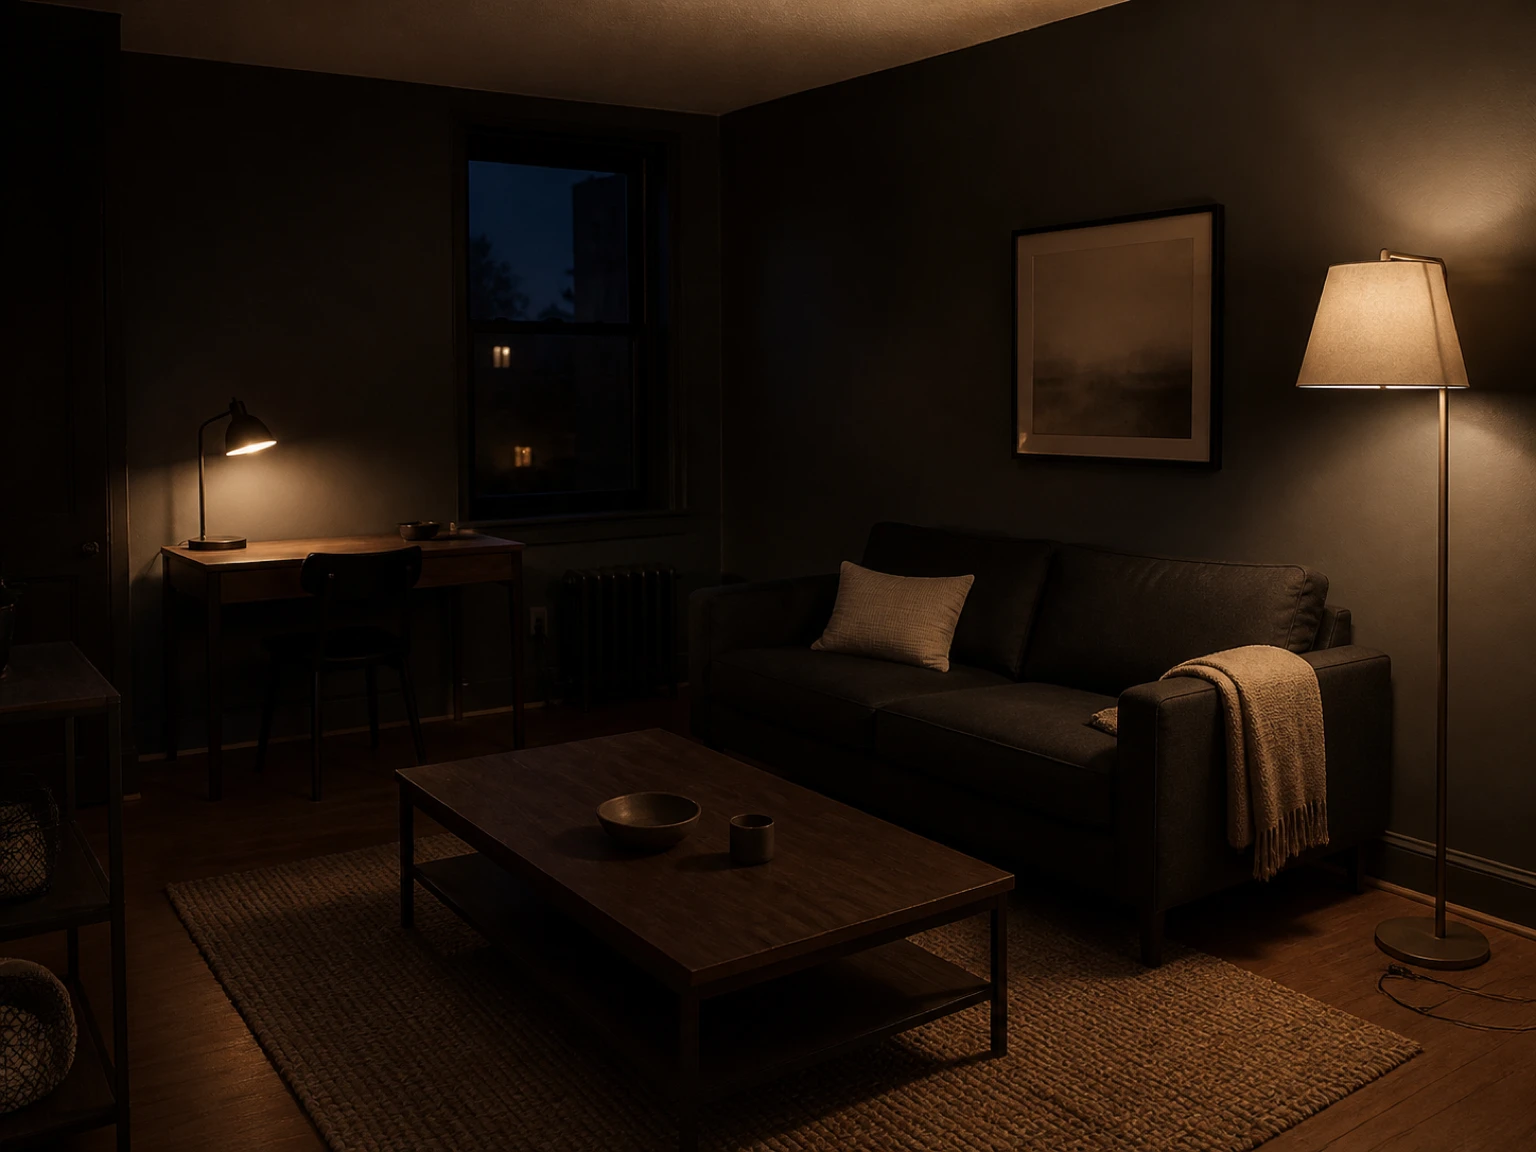
Make a small room sketch while every lamp remains unplugged. Mark useful lamp locations and wall outlets that accept the matching plugs. Draw each possible cord route in plain sight. This paper check exposes awkward crossings and makes a needless strip easier to remove from the plan.
Keep the sketch simple. Show the lamps and wall outlets, then draw possible cord paths. Circle any route that depends on temporary equipment. A clean sketch helps the renter explain the plan to a landlord or housemate without moving furniture again.
Map the room before choosing a power strip
Give every lamp a job
Put the sofa lamp where it supports reading or conversation, and let the desk lamp cover the work surface. Aim the floor lamp toward the corner that disappears after sunset so the products form a defined lighting plan.
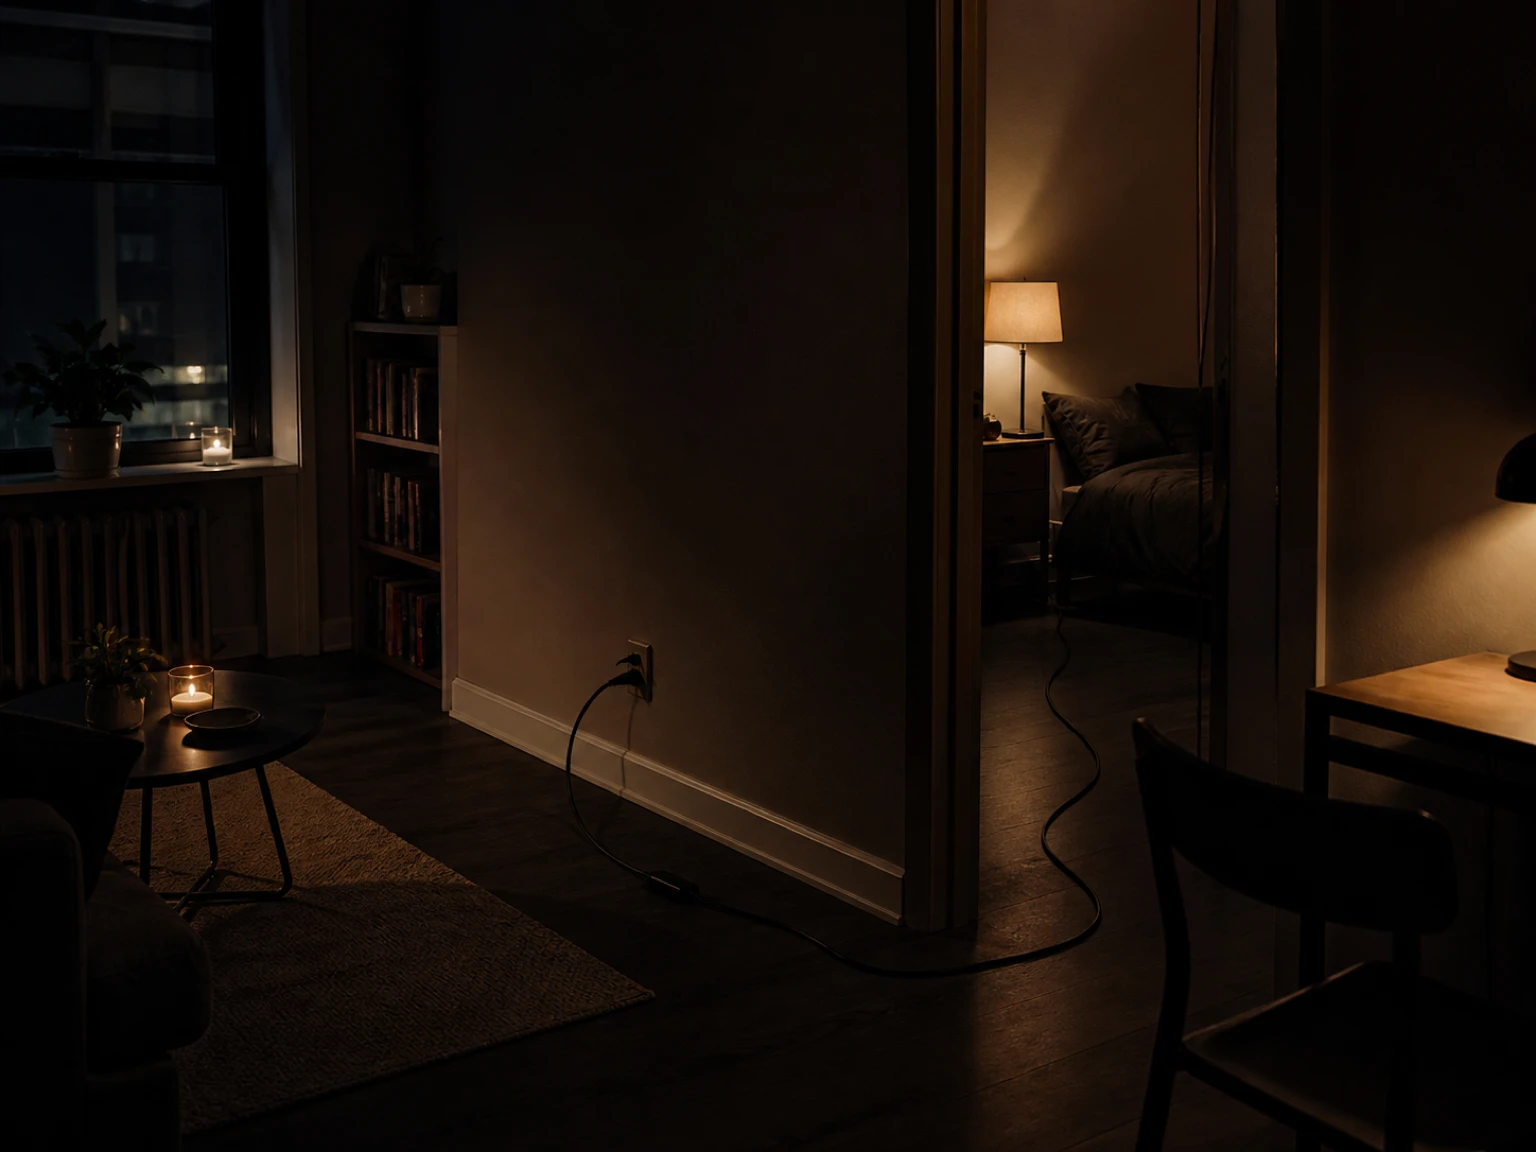
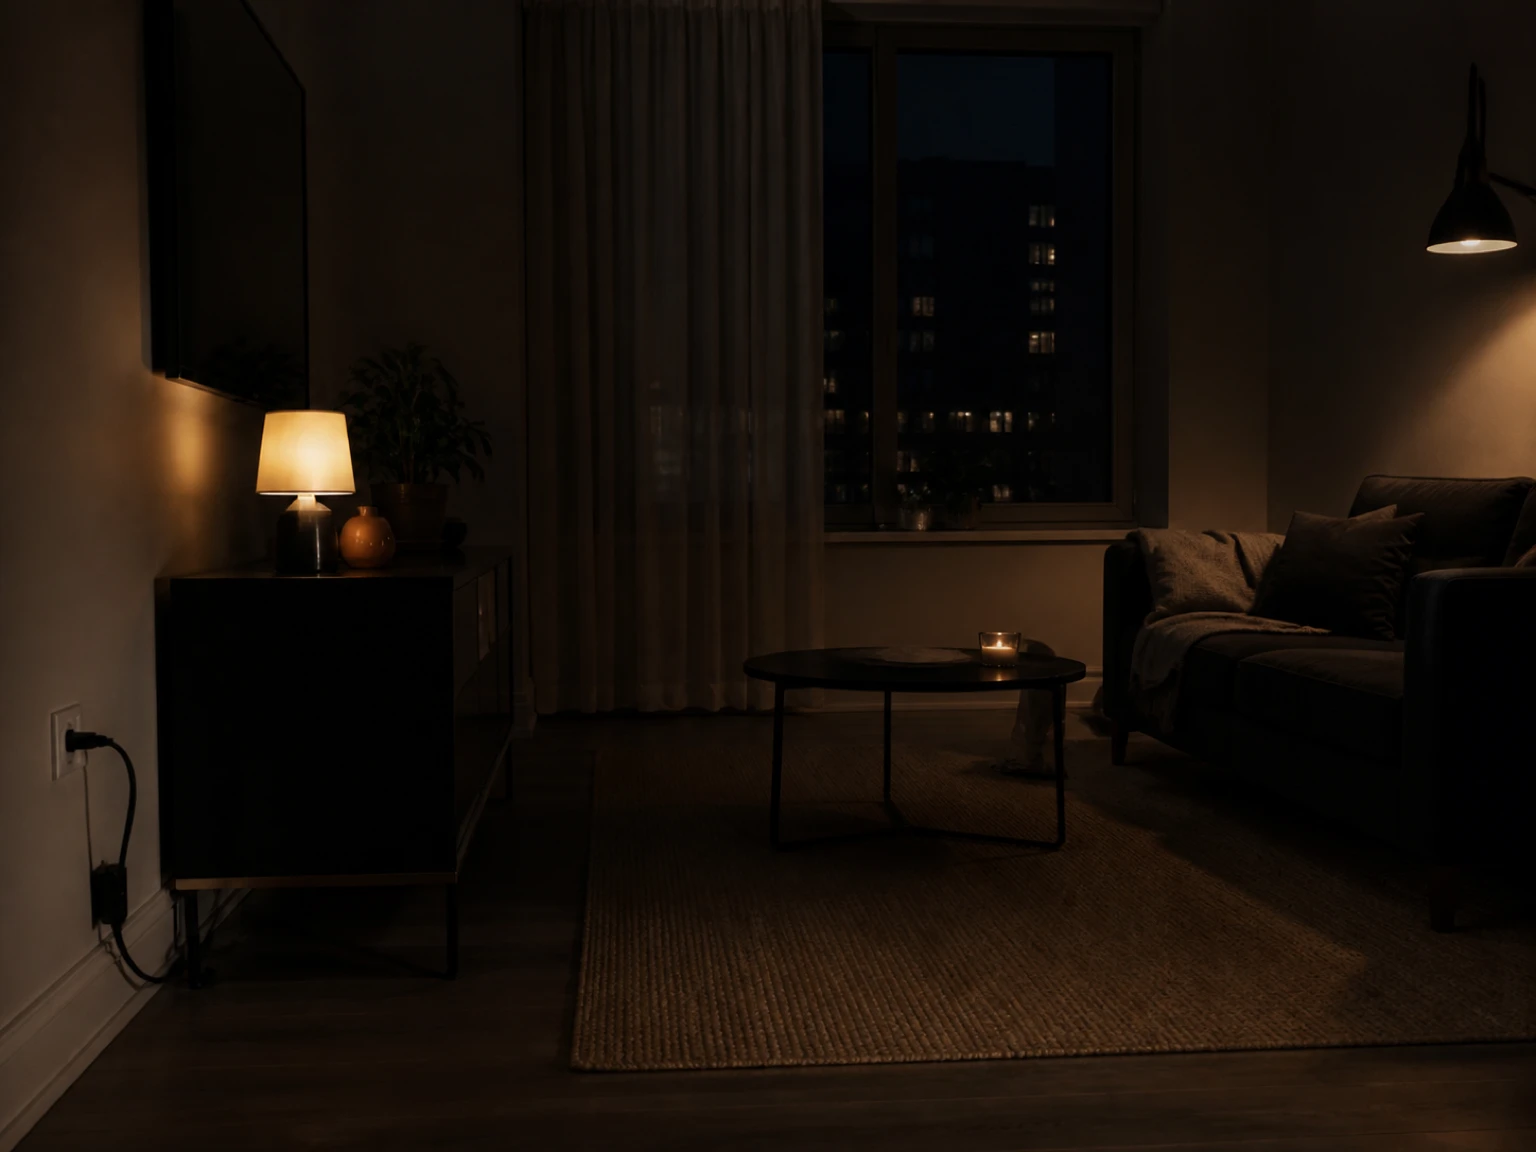
Next, trace each cord toward a wall outlet while keeping the route visible during planning. A hidden cord can be hard to inspect later. A route through a walking path creates a daily problem. Move the lamp before adding temporary cord length.
Place the lamp plug near its planned connection without inserting it. Check whether the cord reaches with a relaxed path. Tension at either end calls for a lamp move; this dry layout also reveals any table position that pinches the cord.
Write the lamp's purpose beside its cord route. This note keeps the intended connection clear when the room changes. If another product needs power nearby, return to the wall map before adding a plug. The strip label and direct connection plan still guide the decision.

Inspect the wall connection
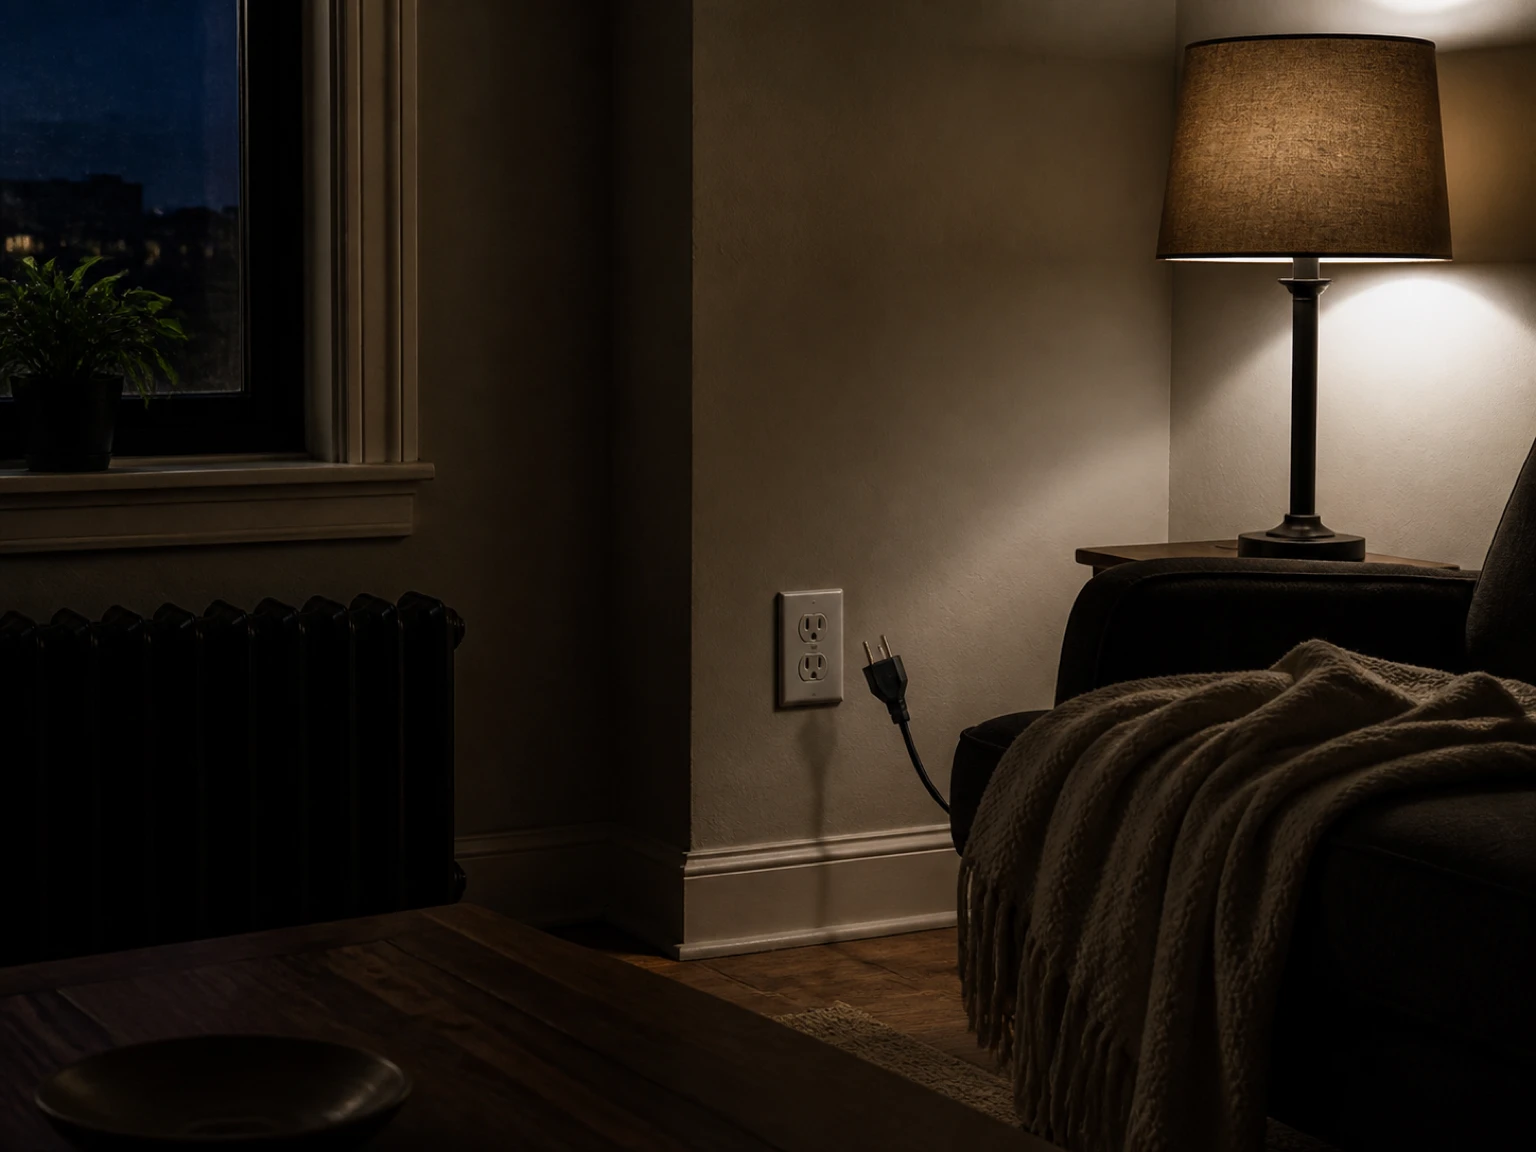
Look at the plug before it reaches the wall, and never use three-prong plugs with an outlet that cannot accept that plug as designed. Keep the grounding prong in place and ask the landlord or a qualified electrician about an incompatible outlet.
The same check applies when a power strip or extension cord sits between the lamp and wall, because every connection must fit fully. Keep the connection accessible for inspection, and use a different route when furniture pressure is holding the plug in place.
Treat the wall outlet as the fixed edge of the rental plan; a renter can move lamps and furniture, while outlet changes belong with the landlord. This boundary keeps a decorating decision from becoming electrical work. It also gives a clear response when the available outlet does not match.
Treat extension cords as temporary equipment
Use each cord for a narrow purpose
ESFI gives a direct limit: Do not use an extension cord for more than one appliance. Keep each temporary cord tied to its intended product so a later plug cannot quietly change an understood connection plan.
Do not substitute an extension cord for permanent wiring; a lamp arrangement that depends on lasting temporary equipment needs a different furniture plan. The room should still work after that cord is removed or after the landlord provides another suitable solution.
Temporary should describe the room's use of the cord, with a visible connection that remains easy to remove when the short-term need ends. If the lamp location only works through a lasting extension, return to the sketch and move furniture until the path becomes simpler.
Read the rating before connecting products
A temporary power strip or extension cord should be rated for the products connected to it. Read the product and lamp labels before use; unclear information calls for another connection plan or guidance from the product maker.
Keep the cord or strip instructions with the product while planning the room, and leave the label readable after placement. Decorative colour can help equipment blend into the room, but appearance comes after the published rating and intended use.
A power strip creates more places to connect plugs, while its label still controls what belongs there. Leave spare receptacles empty when the room has no clear need for them, which makes every active connection easier to see.
Keep multiple-plug equipment connected to the wall
Give each strip a direct wall connection
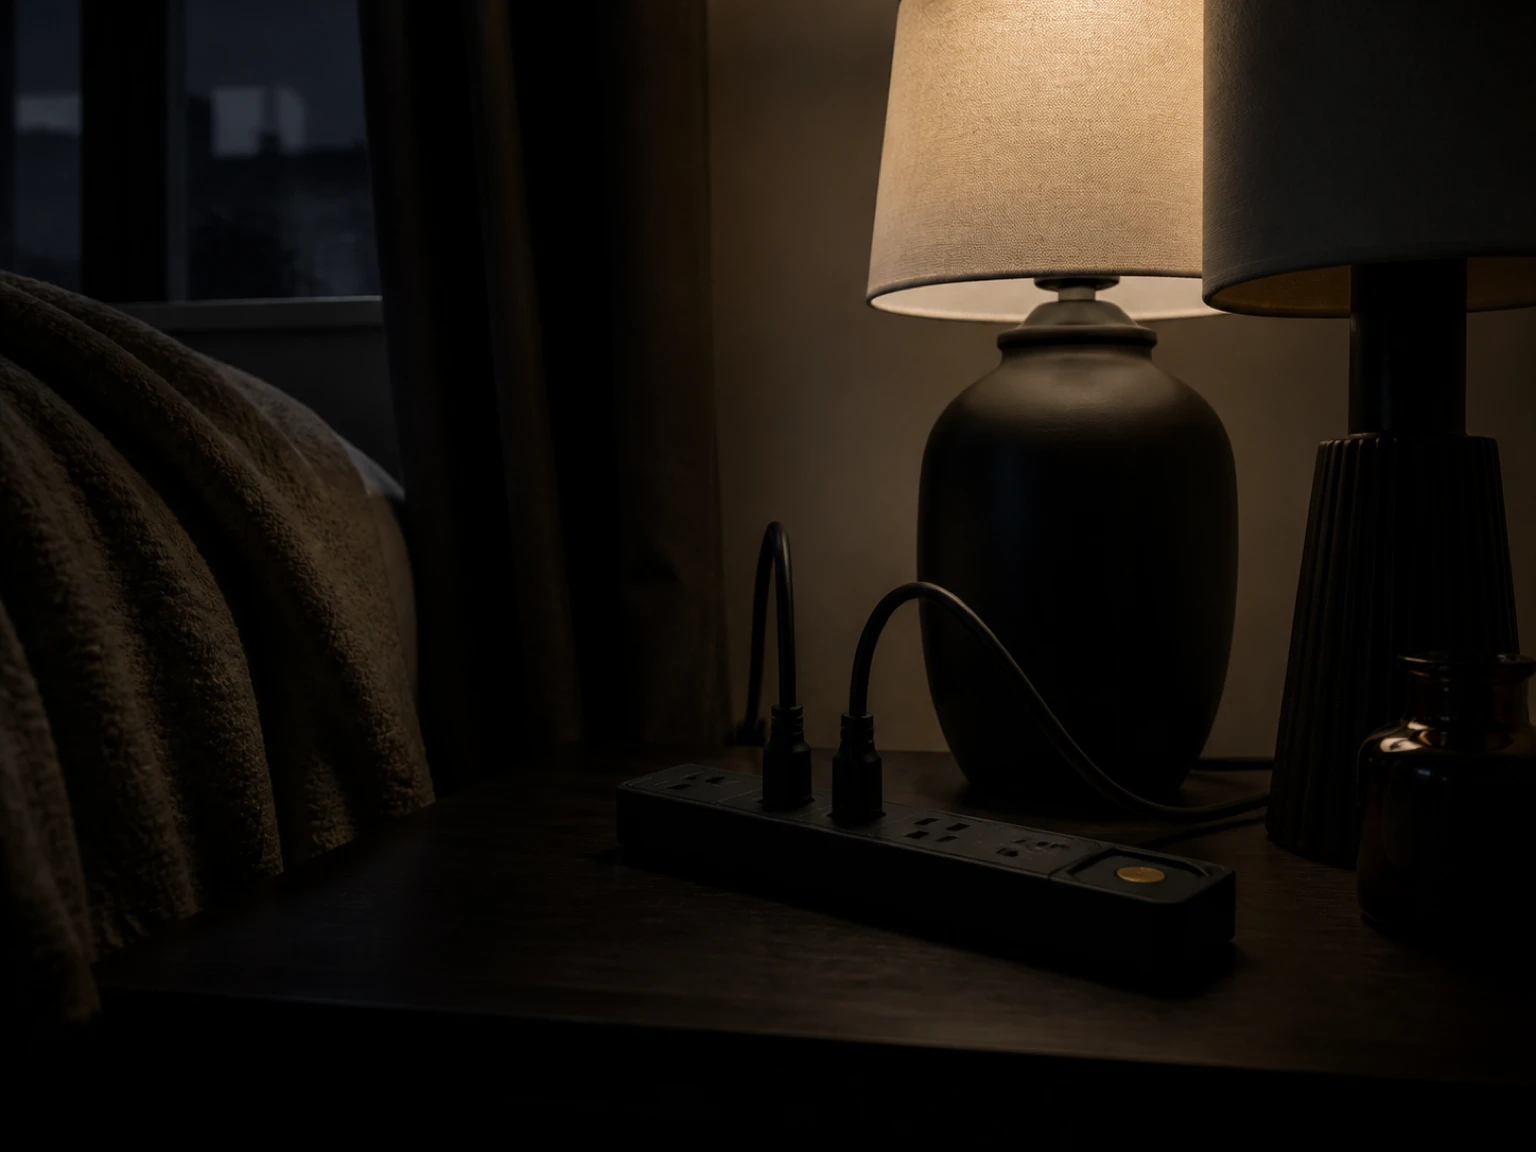
Multiple-plug outlets must connect directly to a mounted wall receptacle and remain separate instead of chained together. This rule keeps the layout readable because the wall outlet leads to the strip, which then serves the approved products.
A second strip belongs at another suitable wall location, separate from the first strip. Revisit lamp placement when direct wall access fails, because a small furniture change can remove a complicated connection.
The direct-wall rule keeps later choices understandable. A housemate can see where the strip begins and what it serves. Pause an added lamp when it has no clear place in that path. The room plan can change without turning a temporary strip into part of the building.
Room arrangements change. A guest may move a table, or a work area may shift toward another wall. Review the direct connection before plugging the lamp into its new place. The earlier map remains useful because it shows which wall outlets already fit the planned equipment.

Use certification as a buying screen
Look for a recognized listing mark
Choose an extension cord with a UL or CSA logo. ESFI describes that mark as the usual sign of proper listing and safety certification. The mark gives a renter a practical screen before comparing length, colour, or convenience.
The CPSC identifies UL 817; its guidance says products within the rule fall under that standard. For the CPSC finding, all four characteristics must be present before the product clears the stated hazard condition.
Those regulatory details belong to the product maker's compliance work. A renter can screen the product by reading its label for a listing mark and following all published directions.
Treat certification as an entry check for the shopping list, while the label and direct connection plan guide the room setup. Keep the packaging until every lamp is settled so the published directions remain close at hand.
Finish with a calm room check
Review the complete connection path
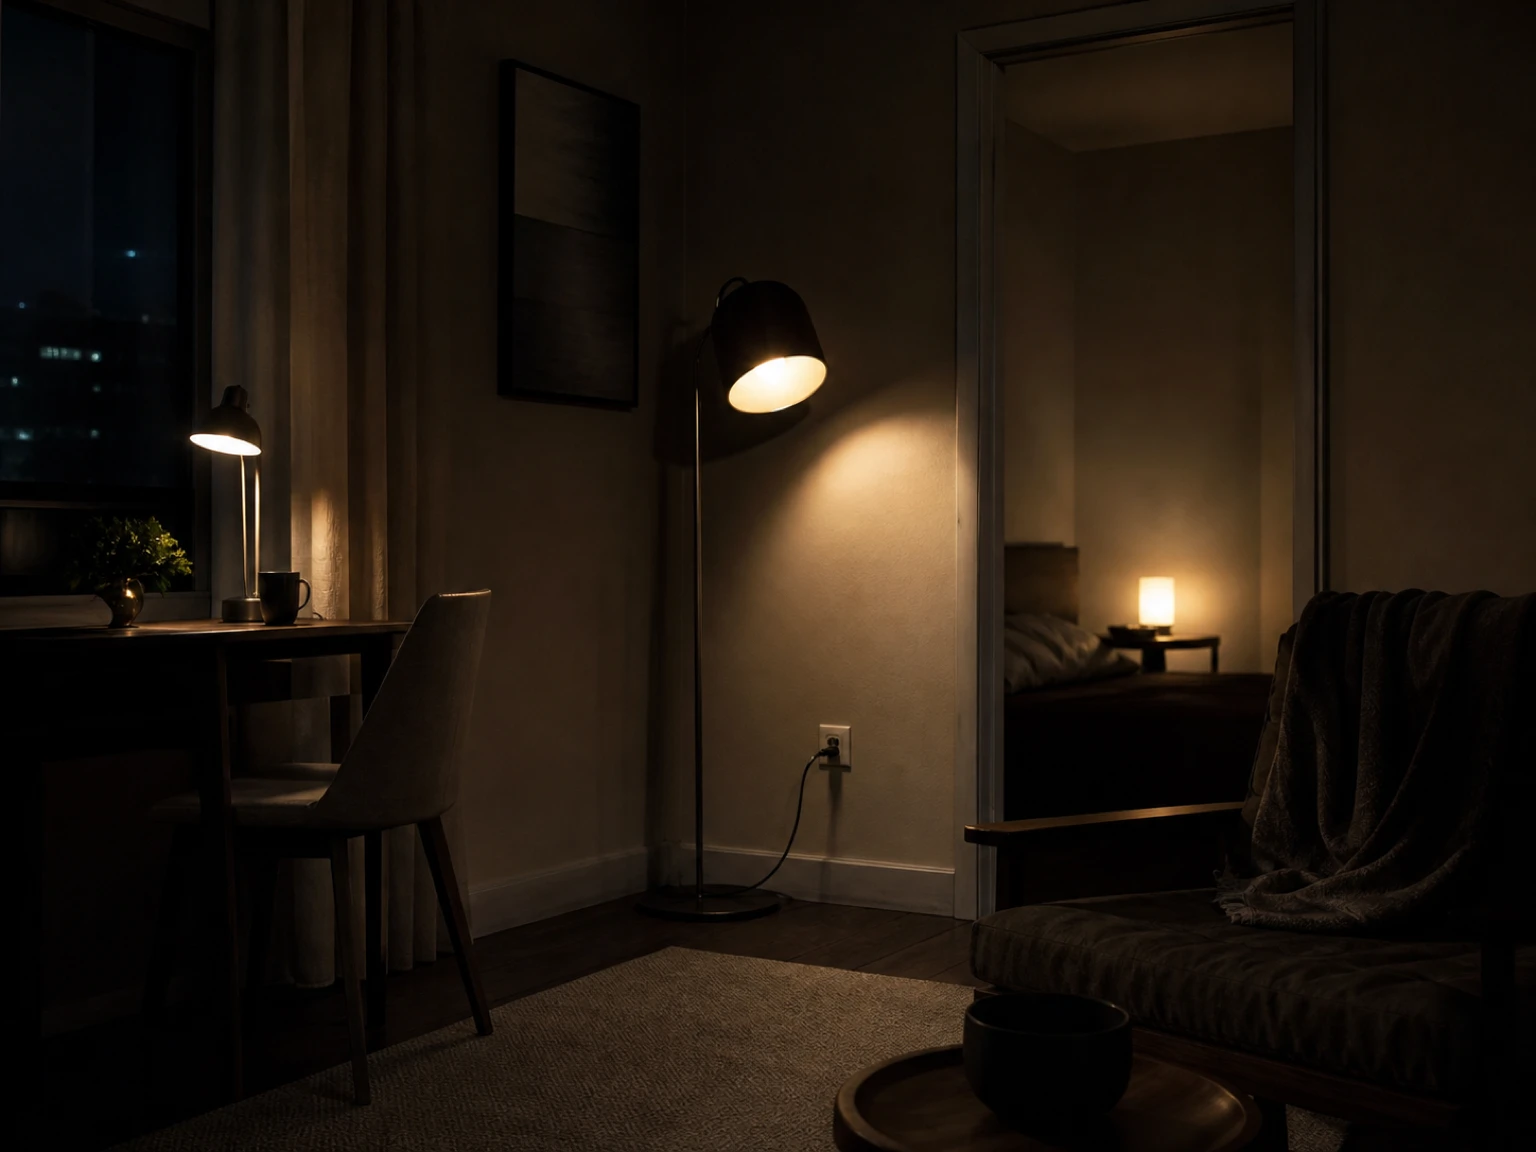
Stand at each lamp and follow its cord to the wall, confirming that the plug fits and any temporary strip reaches the wall directly. Remove unused equipment from the route so the remaining path stays easy to inspect during normal cleaning.
Then look at the room from its main seat. Confirm that every target area has useful light without cords pulling across the floor. Adjust lamp positions while every connection remains unplugged, until the arrangement feels ordinary and easy to maintain.
Repeat this review whenever furniture or lamps move, because a clear route can become hidden after a cabinet shifts. Return to the wall and trace the path again after another product arrives. This habit keeps the lighting plan current without adding alarm or making the room difficult to enjoy.
Normal cleaning gives the room another useful check. Follow visible cords while moving around the furniture, and confirm that every direct wall connection remains easy to reach. Put the room back according to the map. A lamp that no longer has a clear route should stay unplugged until the layout changes.
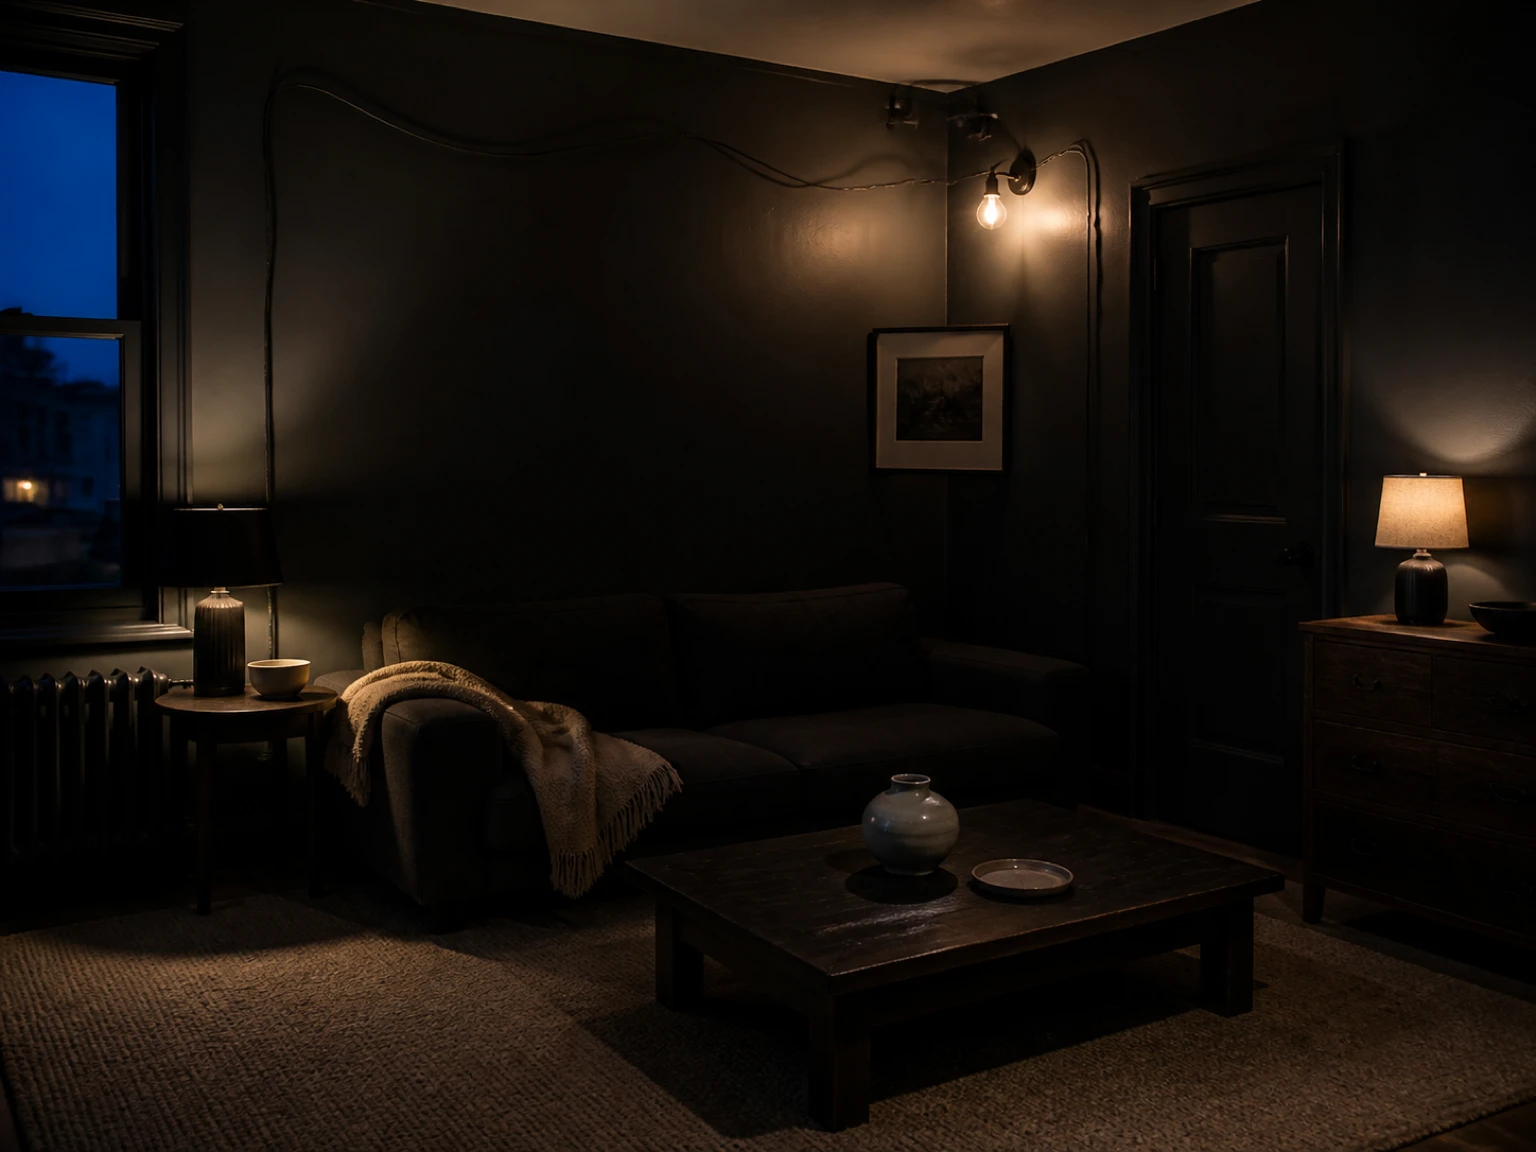
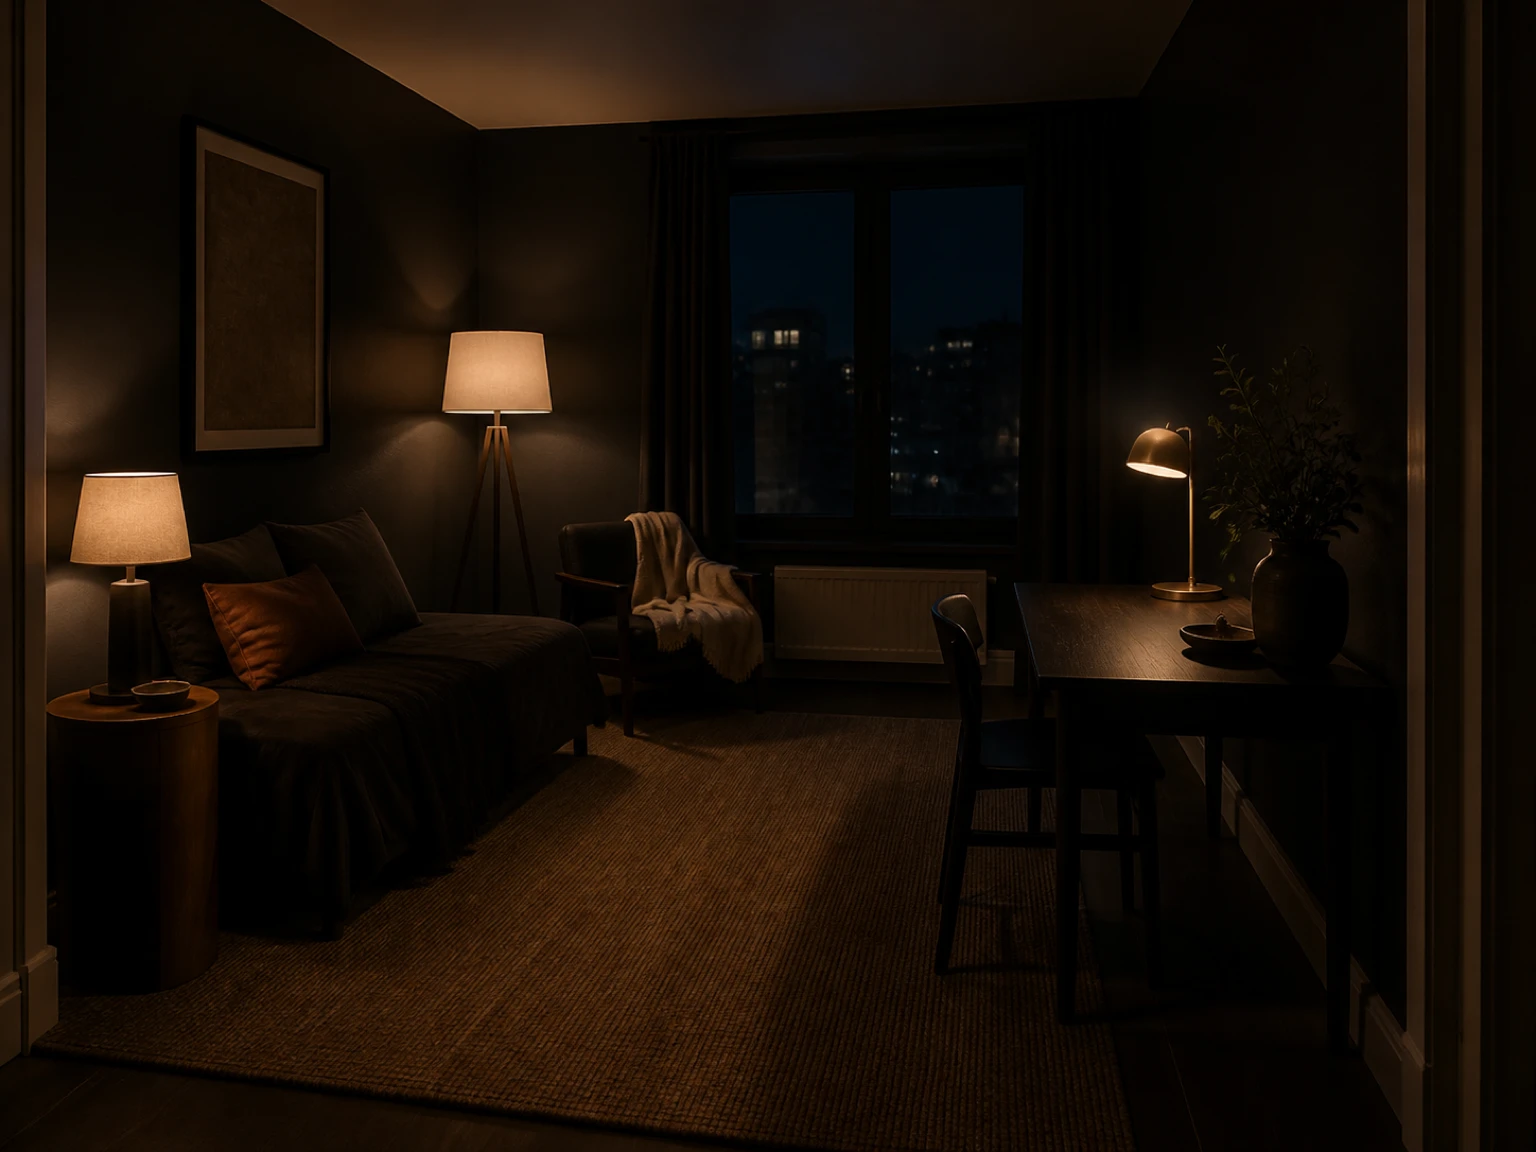
Warm rental lighting can stay reversible when each lamp has a useful place and every temporary product matches its label. Multiple-plug equipment belongs at a mounted wall outlet, with no chain between strips.
Before switching on the lamps: trace each cord to its direct connection and confirm that every product fits its intended use. Remove chained equipment. Do not substitute any temporary cord for permanent wiring. Then refine the room with the warm-lighting guide or the no-damage curtain and lighting guide.