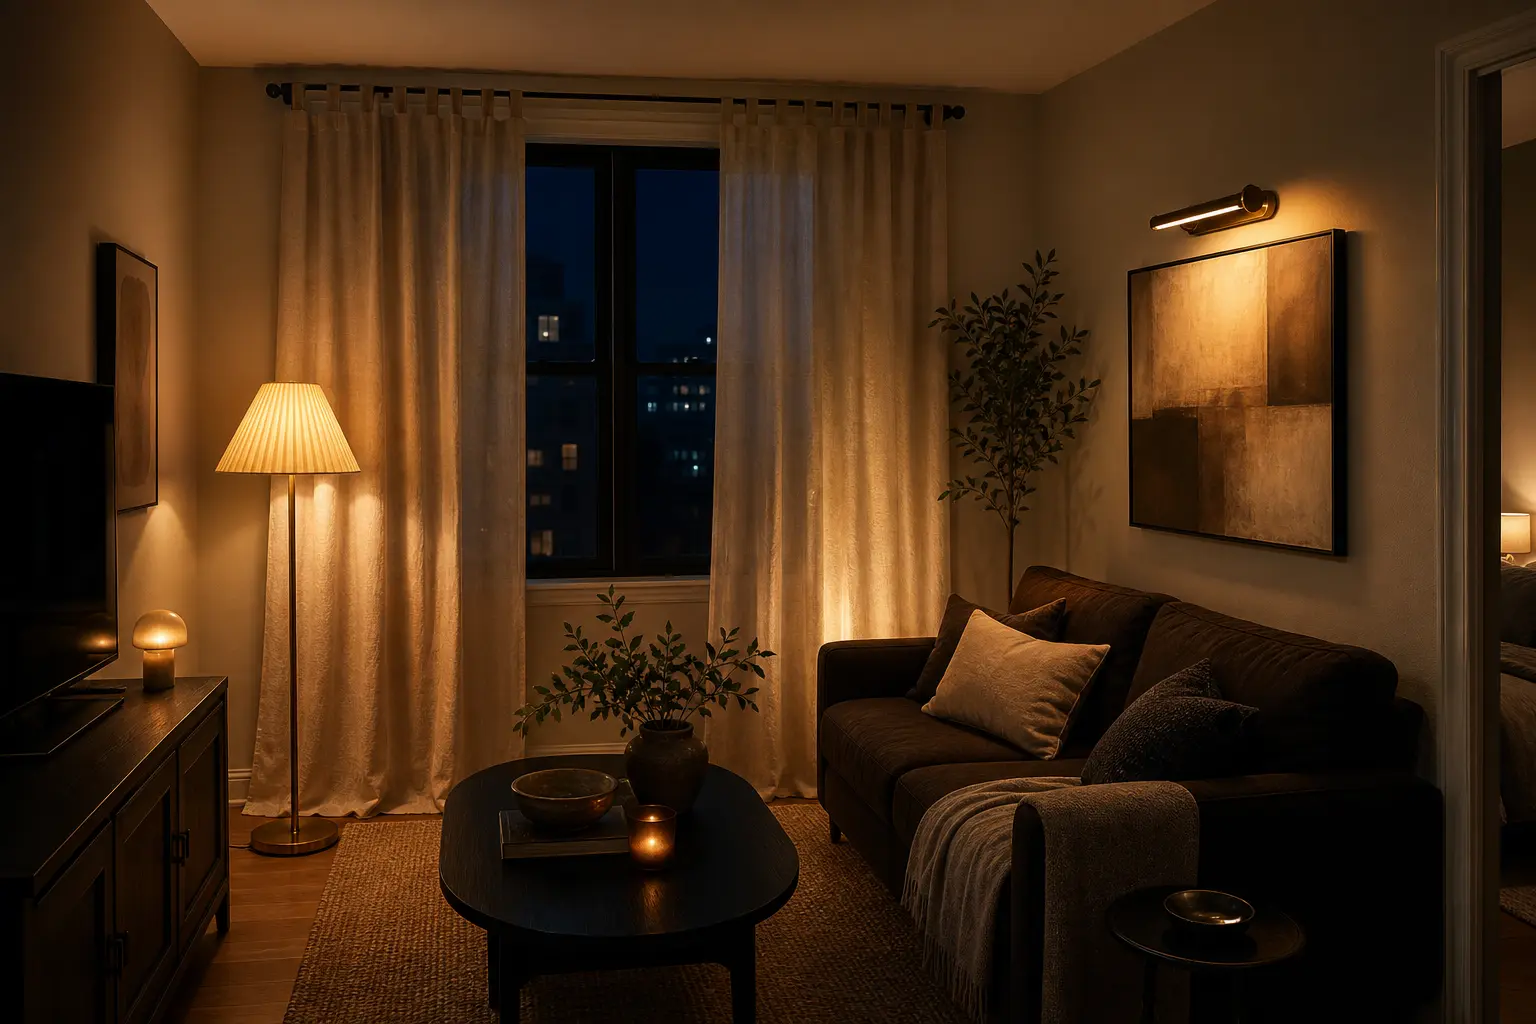
Bare windows and dark walls make a rental feel temporary, but “no drilling” can turn a simple curtain or sconce into a guessing game. A rod that slowly slides, a bracket attached to textured paint, or a light with a dangling cord is not a finished solution. The goal is to match the mounting method to the window, surface, weight, and daily movement—not to find one adhesive product and use it everywhere.
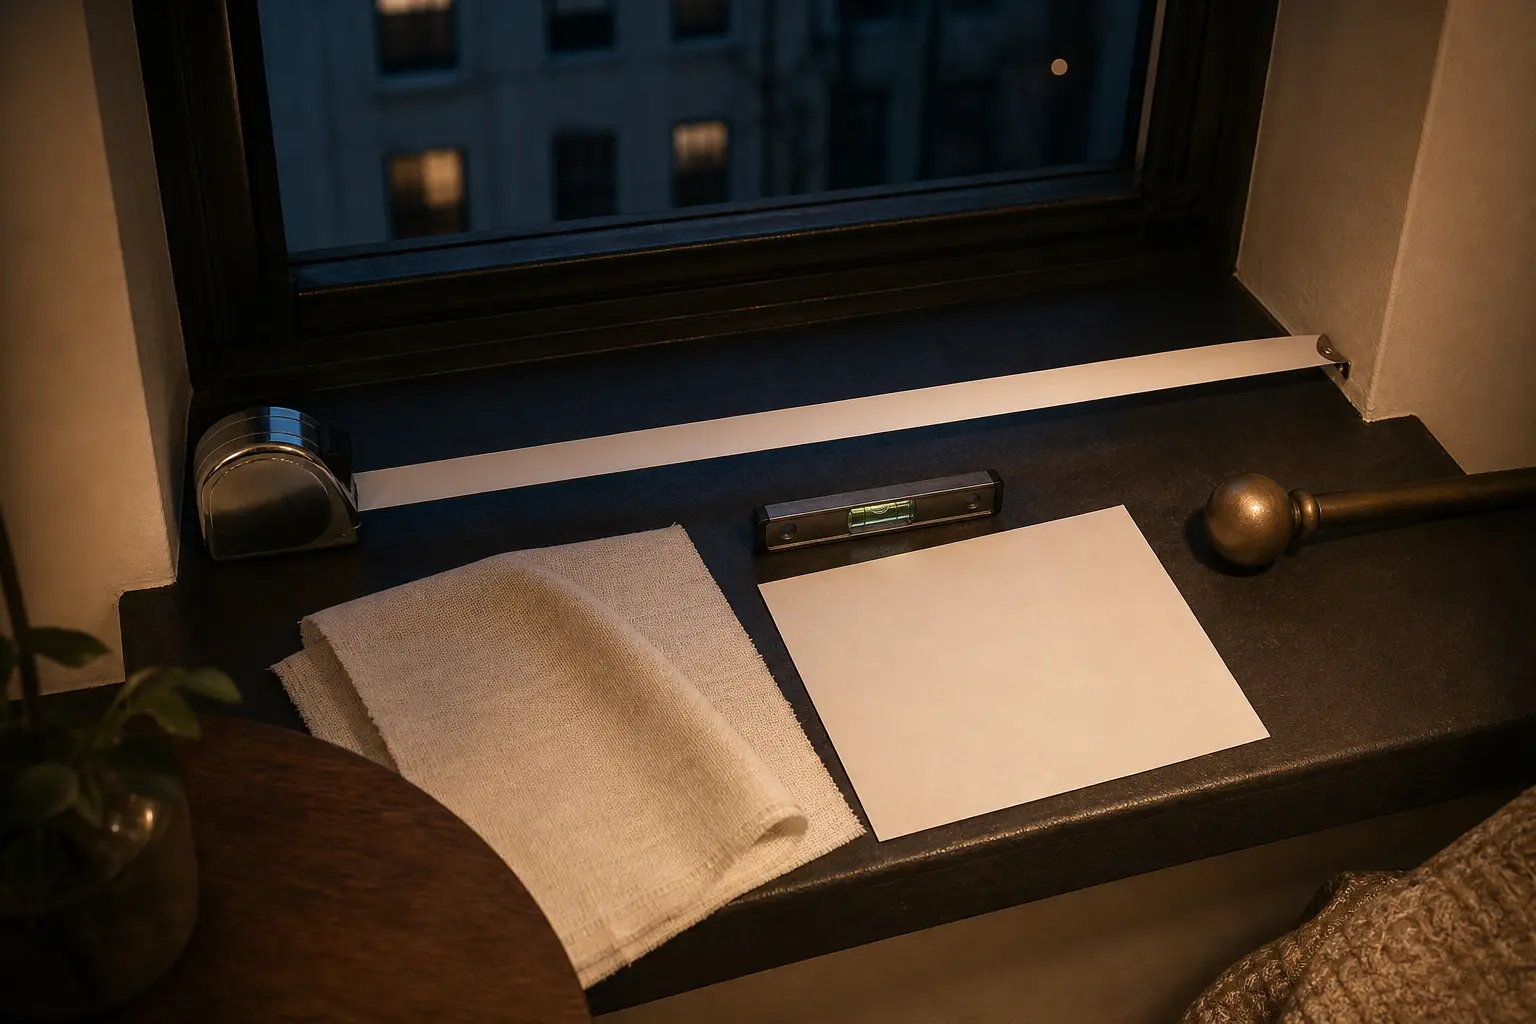
Begin with written lease rules. Some landlords prefer a few properly patched holes over adhesive damage, while others prohibit both. Photograph the wall and trim, then measure the window recess width, outside trim width, recess depth, and desired curtain length. For lighting, record the nearest outlet and sketch the entire cord route. These five minutes prevent most failed purchases.
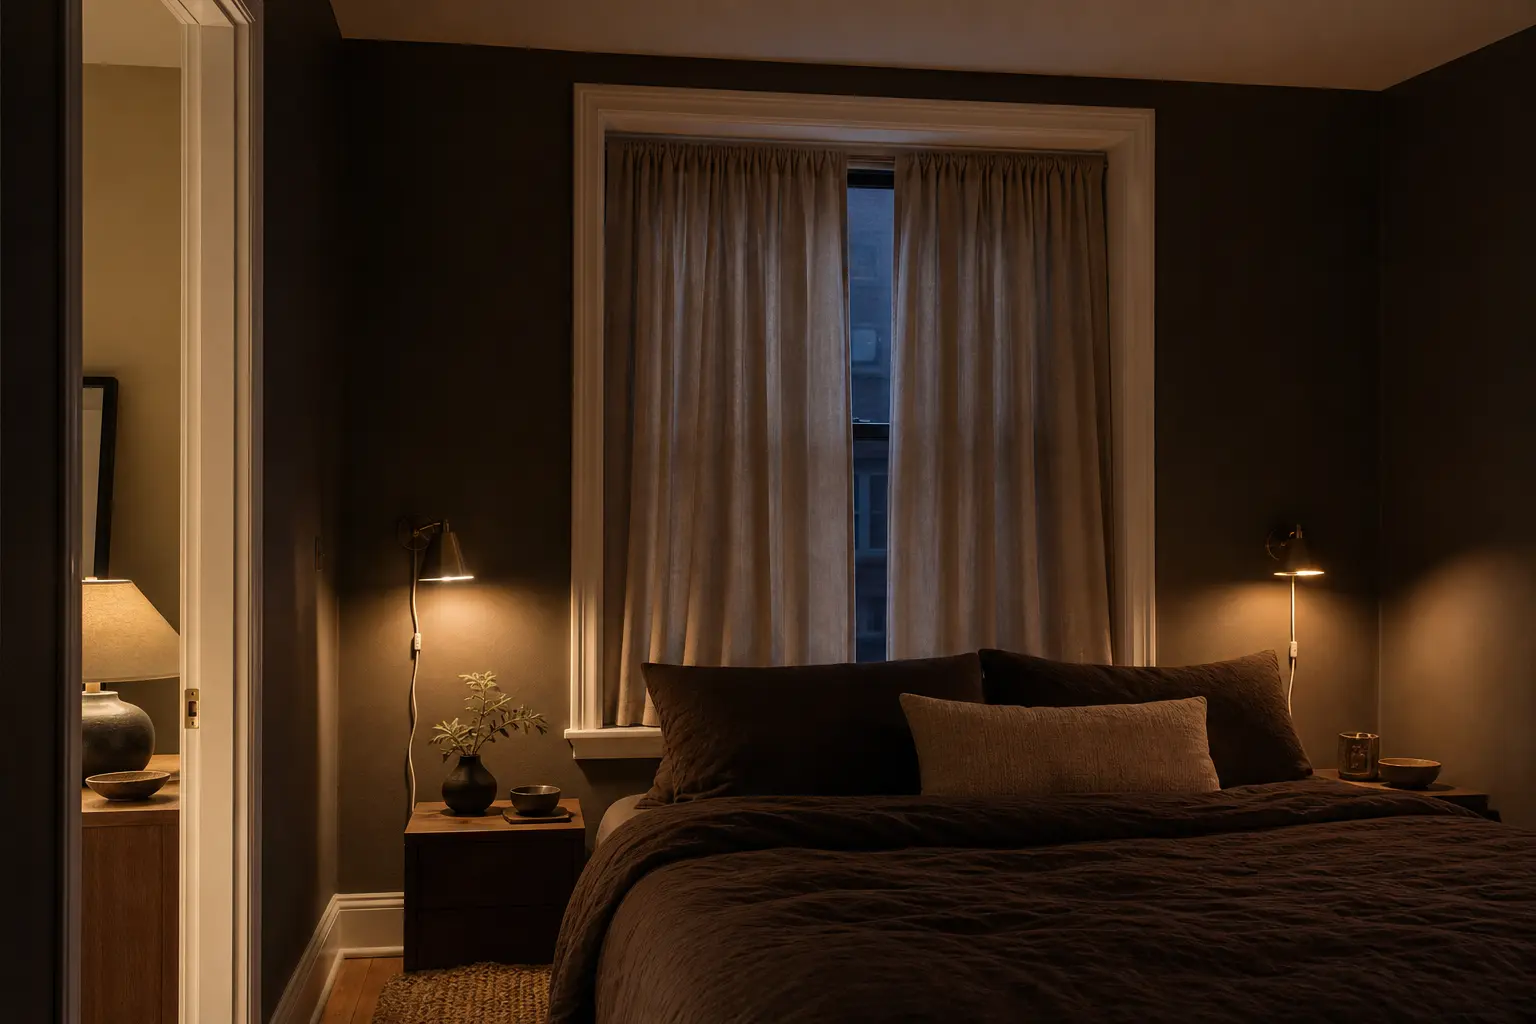
No-drill curtain ideas that can actually hold
1. Use a tension rod inside a deep window recess
A basic spring tension rod is best for a narrow, square recess and lightweight café curtain, sheer, or privacy panel. Rubber ends need broad contact with a clean, hard surface. Extend the rod only within its listed span; the farther a telescoping rod stretches, the easier it is to bow or slip. This method preserves visible trim and works especially well in kitchens and bathrooms when the rod is approved for humid conditions.

2. Choose a twist-and-fit rod for a full panel
Twist-and-fit rods use compression and a larger end bracket, making them better than a thin café rod for modest full-length curtains. They still depend on a firm, parallel mounting surface. Check the manufacturer’s span and fabric-weight limits, and weigh the curtains—not just the empty rod. Open panels gently from the leading edge instead of yanking the center, which can loosen the mount.
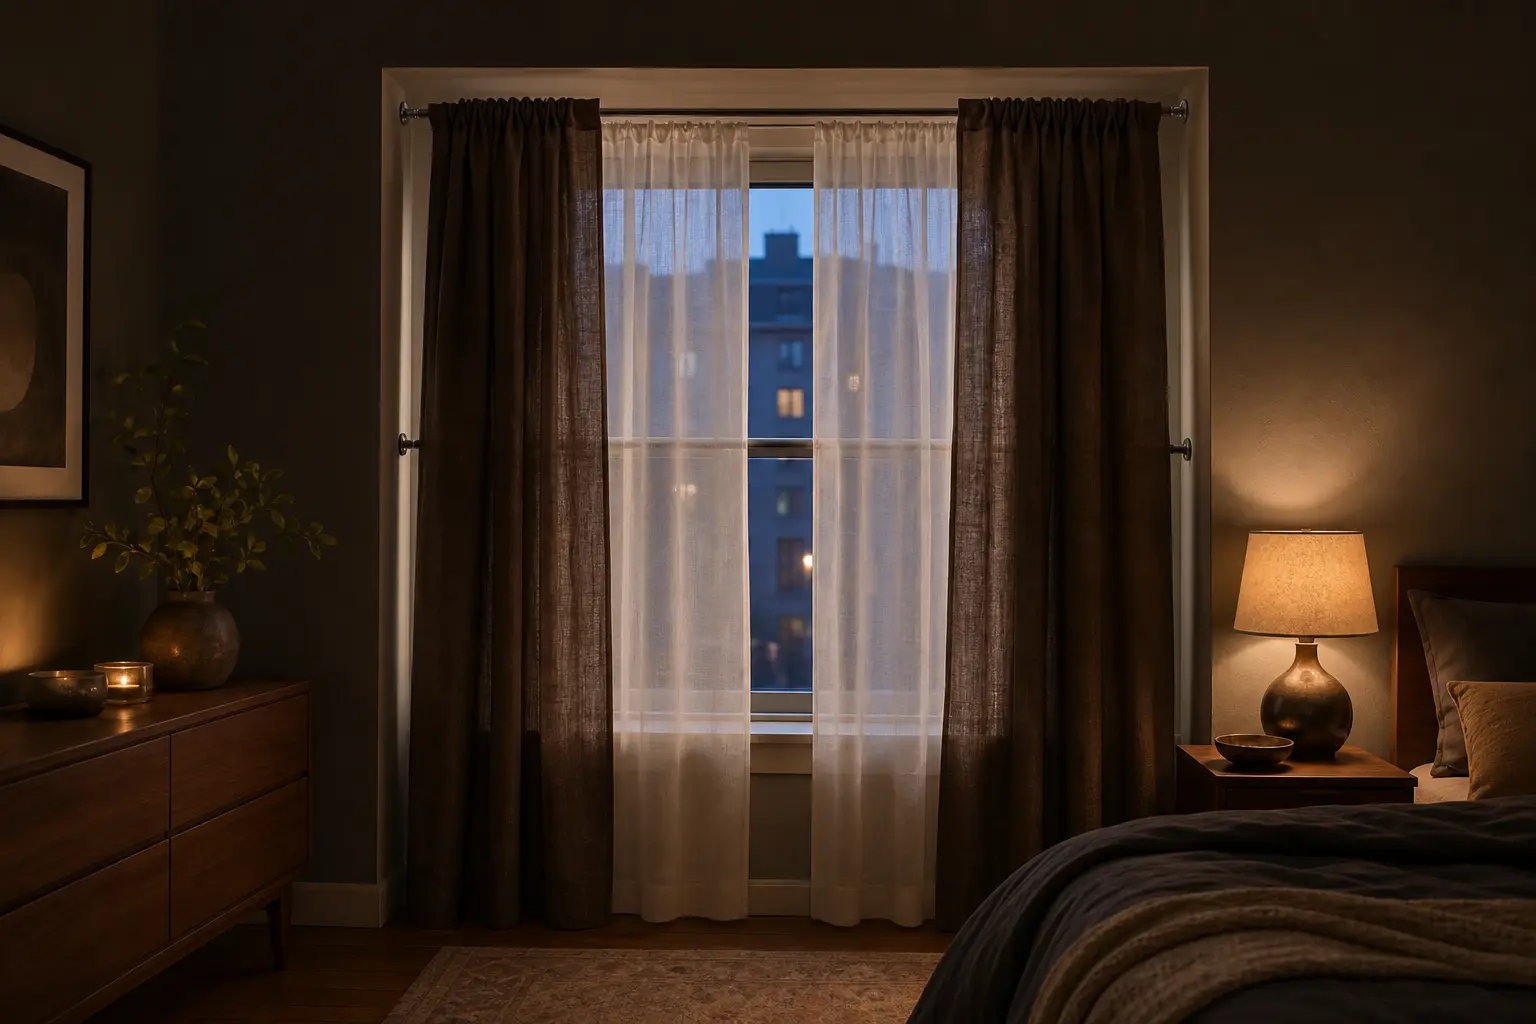
3. Layer a sheer and curtain on one double tension system
A purpose-built double rod can hold a light sheer plus a light outer panel, giving privacy by day and softness at night. Two unrelated rods jammed into one recess often crowd the trim and reduce grip. Choose fabrics with low total weight, use rings or tabs that slide easily, and leave space between layers so they do not drag each other down.
4. Use adhesive curtain brackets only on approved smooth surfaces
Adhesive brackets can position a lightweight rod outside the recess, but their real capacity depends on paint condition, texture, humidity, preparation, and how the curtains are handled. Use a matched bracket-and-adhesive system with a published load limit. Do not substitute general picture strips or mix brands. Test the paint, follow cleaning and cure-time instructions exactly, and keep the bed or valuable furniture out of the fall zone.
5. Hang stationary side panels from removable hooks
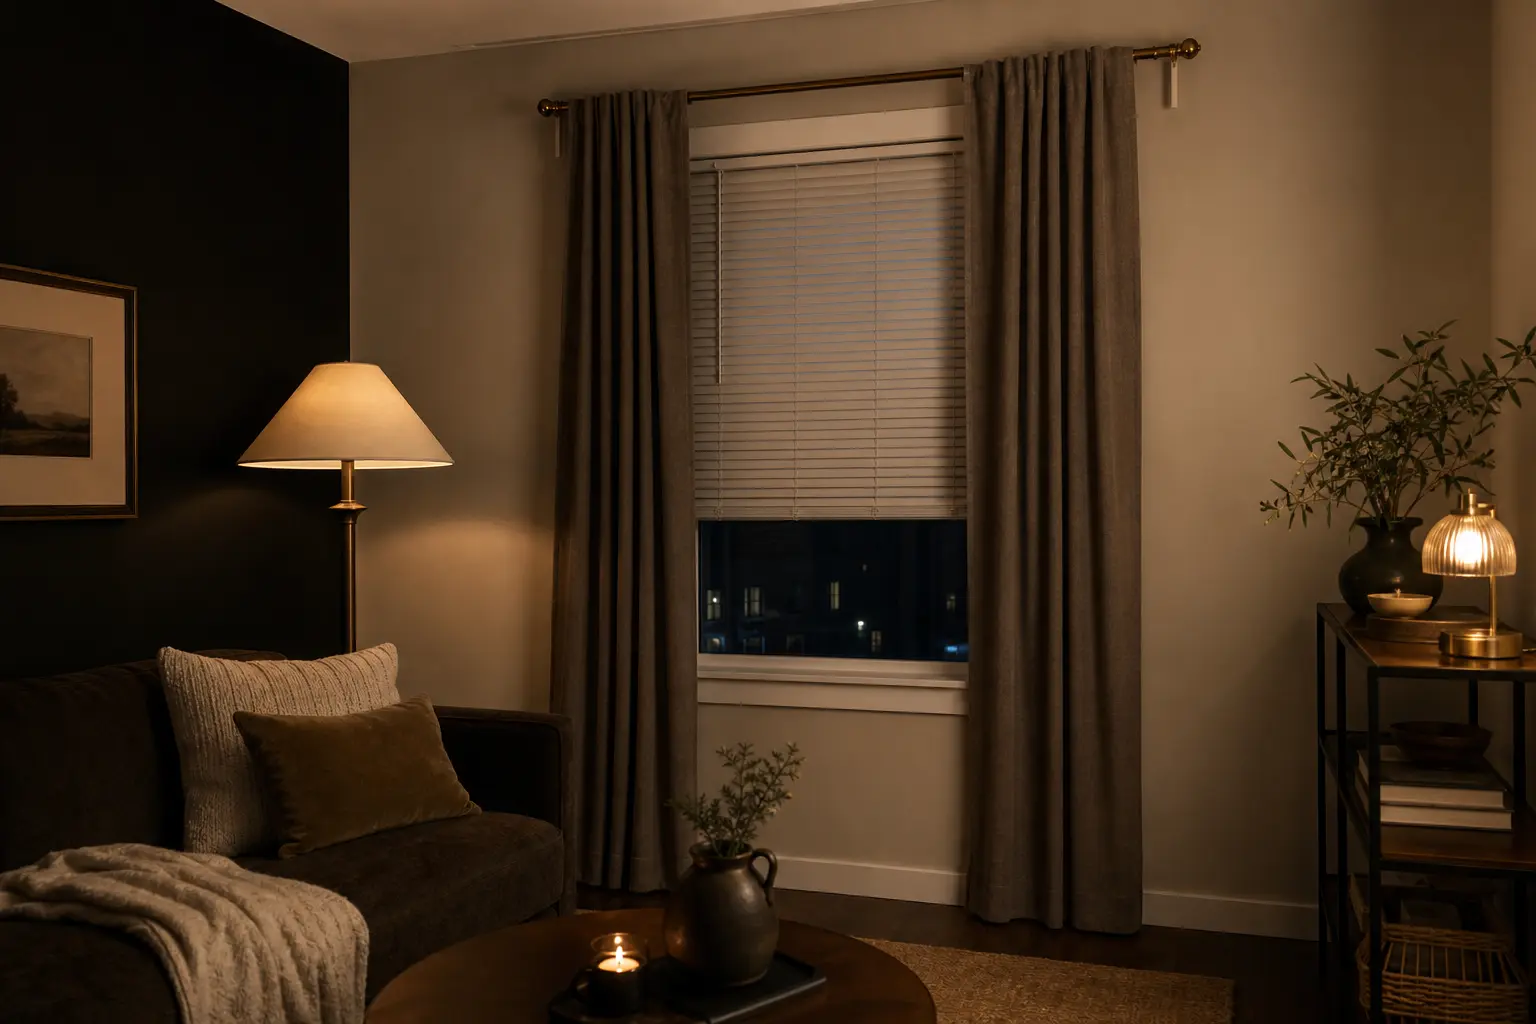
If full moving curtains are too heavy, use two narrow stationary panels to frame an existing blind. Each panel can hang from a short lightweight rod, dowel, or carefully spaced rings supported by hooks approved for the surface and load. Because the fabric does not move daily, it creates less pulling force. It adds softness, but it does not replace a functioning privacy or blackout layer.
6. Fit a tension shade inside the frame
A no-drill cellular, roller, or fabric shade can provide a cleaner functional layer than forcing heavy blackout curtains onto adhesive brackets. Order only after measuring width in three places and depth at the shallowest obstruction. Check handle clearance and whether the window must tilt or open inward. Choose a returnable or cut-to-fit product only when its adjustment method is clearly documented.
No-damage lighting that looks deliberate
7. Use plug-in sconces with a freestanding mount
A plug-in sconce does not require electrical wiring, but most still require secure wall hardware. If holes are prohibited, look for a fixture designed to clamp to a headboard or shelf, or mount a lightweight light to a freestanding floor-to-ceiling pole made for the purpose. Do not hang a heavy swing-arm sconce from generic adhesive. Pulling the arm creates leverage well beyond the fixture’s static weight.

8. Add a lightweight rechargeable picture light
A slim rechargeable light can create the visual rhythm of a sconce over art, a shelf, or a nightstand. Choose a model with an explicit mounting method, fixture weight, runtime at each brightness, and accessible charging. If adhesive mounting is approved, use only on the listed surfaces and keep the removal tab exposed. For textured walls, set the light on a shelf or use a freestanding art easel instead.
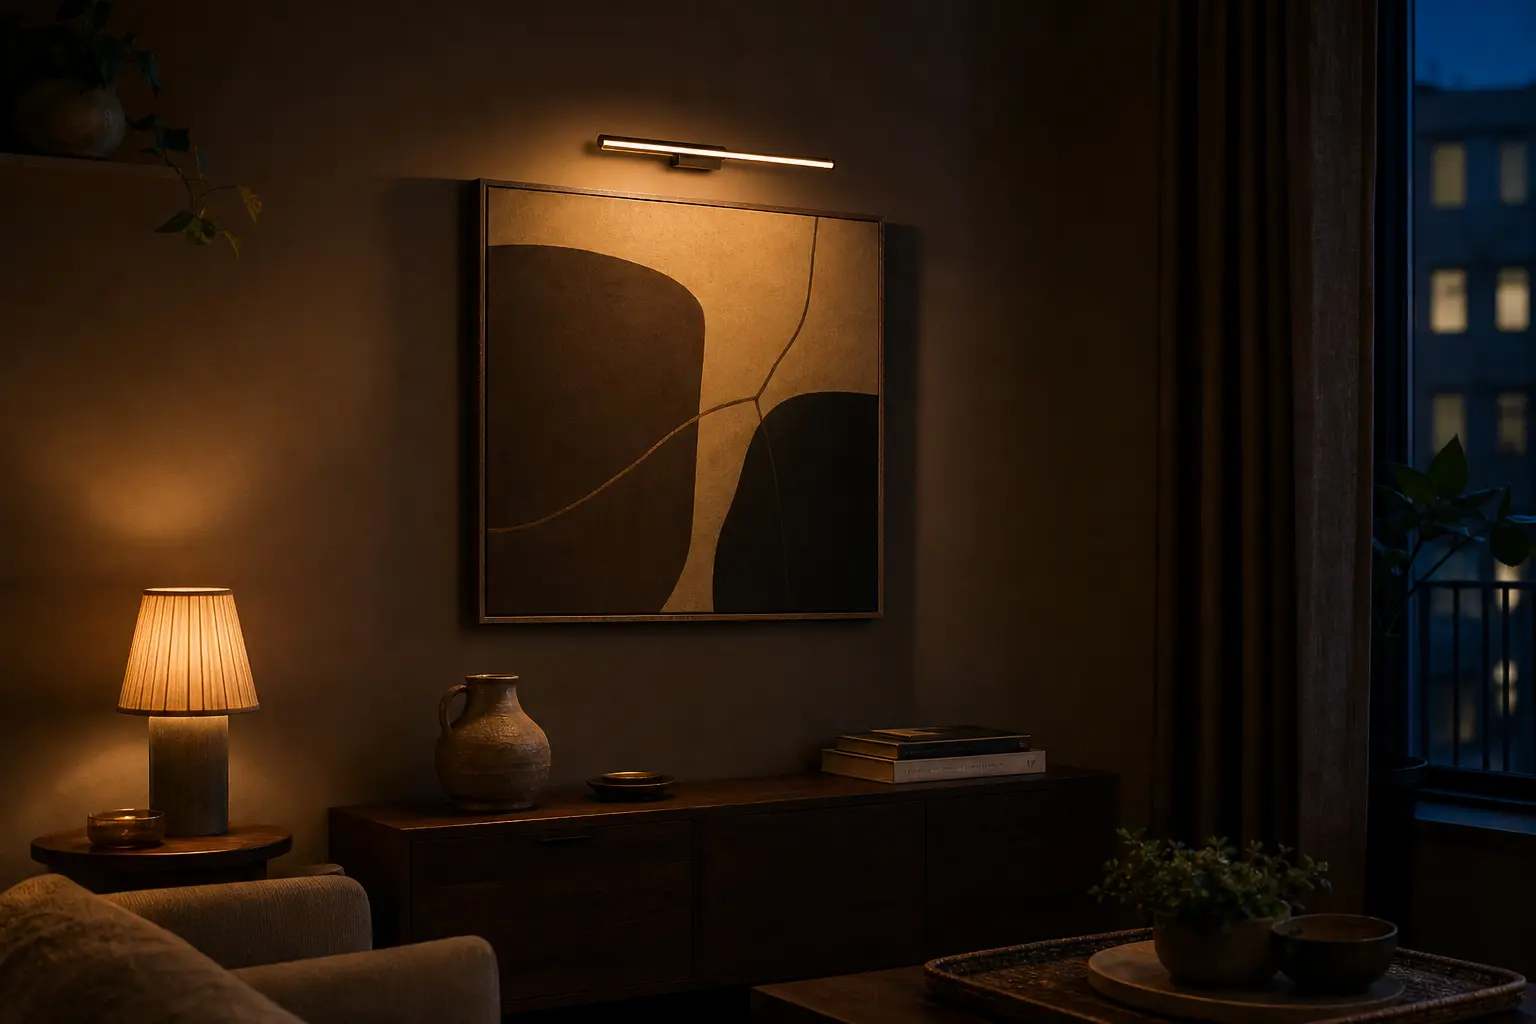
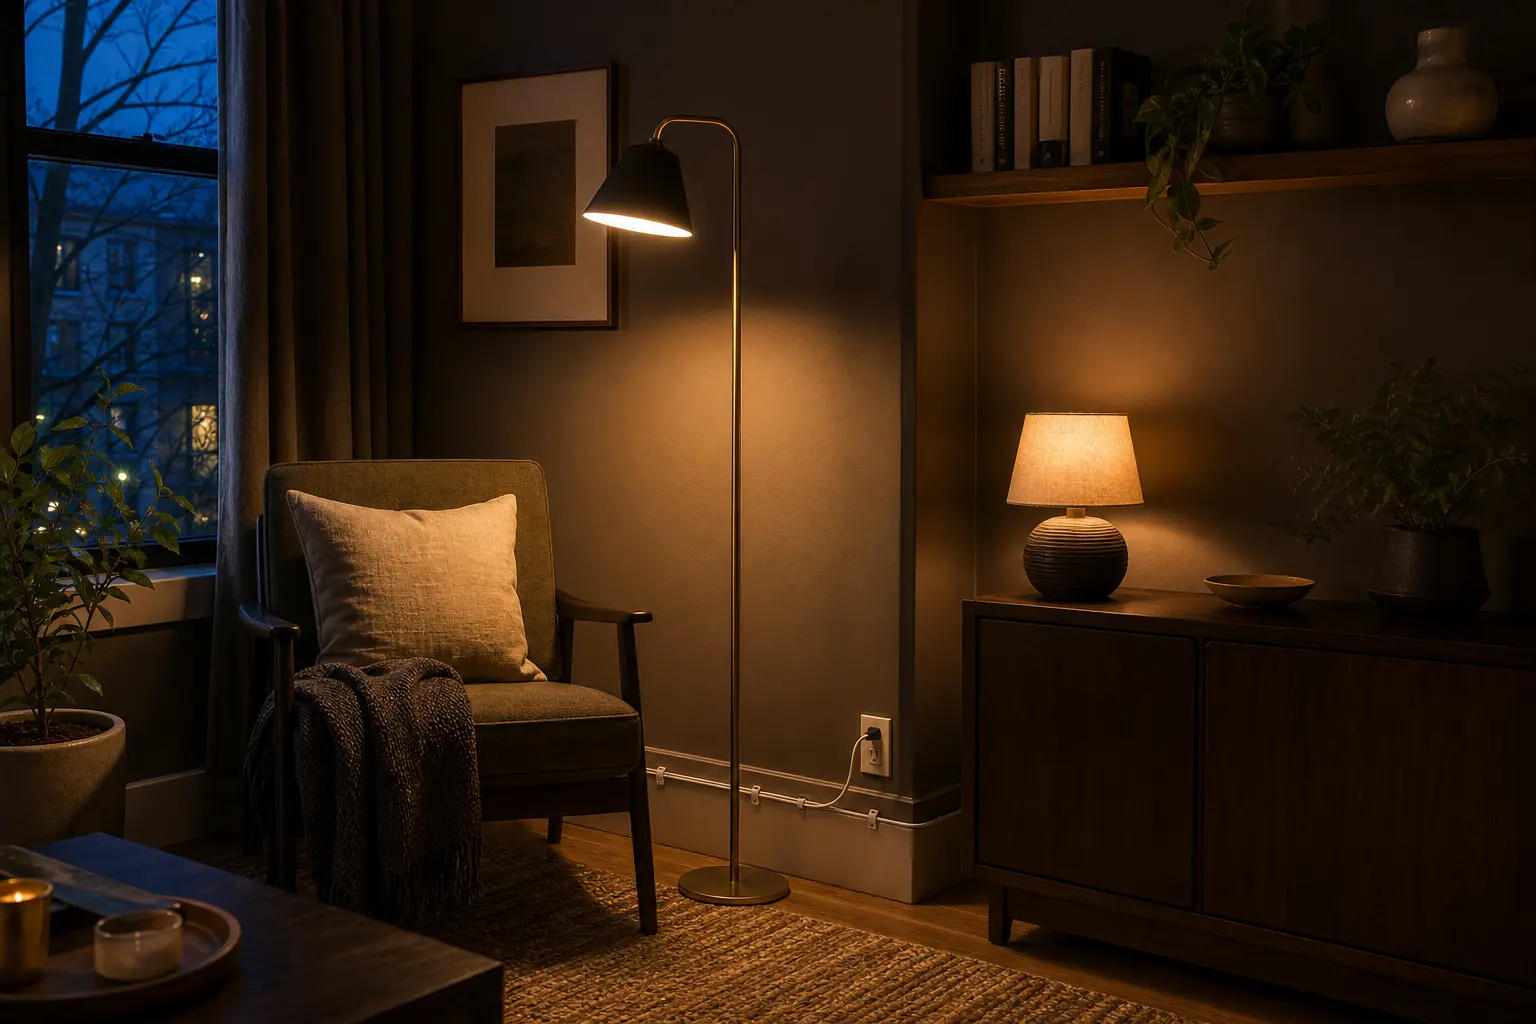
9. Build a plug-in light corner with visible cord discipline
A floor lamp, small table lamp, and one plug-in wall-level source can finish a room without permanent work. The key is cord planning. Place fixtures near outlets, route cords along the baseboard, and use removable clips or raceways rated for the surface and cable. Never run cords under rugs, through doorways, where furniture pinches them, or in an overloaded chain of adapters.
How to keep “no damage” honest
No product can promise zero damage on every rental surface. Old paint may have poor adhesion before you arrive. Textured walls reduce contact area. Bathroom humidity and sunny windows change performance. Even a tension rod can leave marks when overtightened. Treat every published weight limit as conditional on correct installation and an approved surface, not as a universal guarantee.
- Test the exact adhesive or end pad in a hidden area and wait the full recommended period.
- Weigh the complete load: curtain, rings, rod, finials, fixture, battery, and any pulling force from use.
- Follow cleaning, application, cure, and removal instructions without shortcuts.
- Inspect mounts periodically and remove the item at the first sign of slipping, paint movement, or adhesive stretch.
A finished-room formula for one weekend
First, solve privacy with the lightest method the window can support: an inside tension shade, café curtain, or gentle twist-fit rod. Second, add stationary side panels only if the window still feels visually small. Third, place a warm floor or table lamp near the window so the fabric glows at night. Finally, route the cord once and leave it accessible. The result looks layered because each part has a job.
The finished-rental rule: the safest mount is the one designed for the exact surface, span, and complete load. For more ways to build the glow, use the full warm lighting guide. If the room also needs a removable surface, read the peel-and-stick guide, browse renter upgrades, or see all articles.